FREE PATTERN

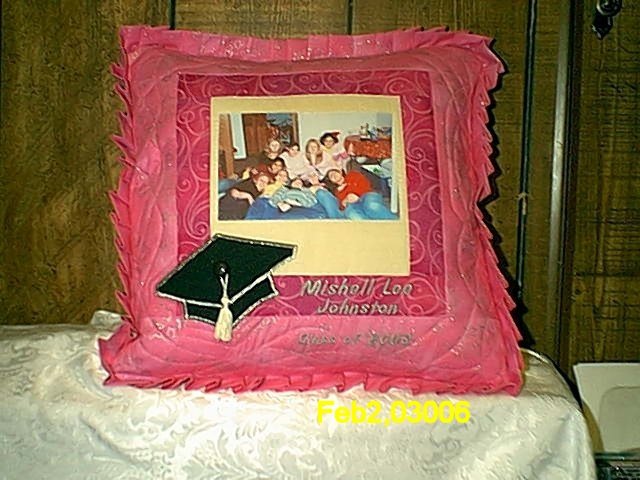
To view more Memory Photo Pillow samples for ideas Click Here

Please feel free to email me with any questions or if you would like to Special Order a Pillow Cover. 

Have fun and Happy Quilting!    

Karen

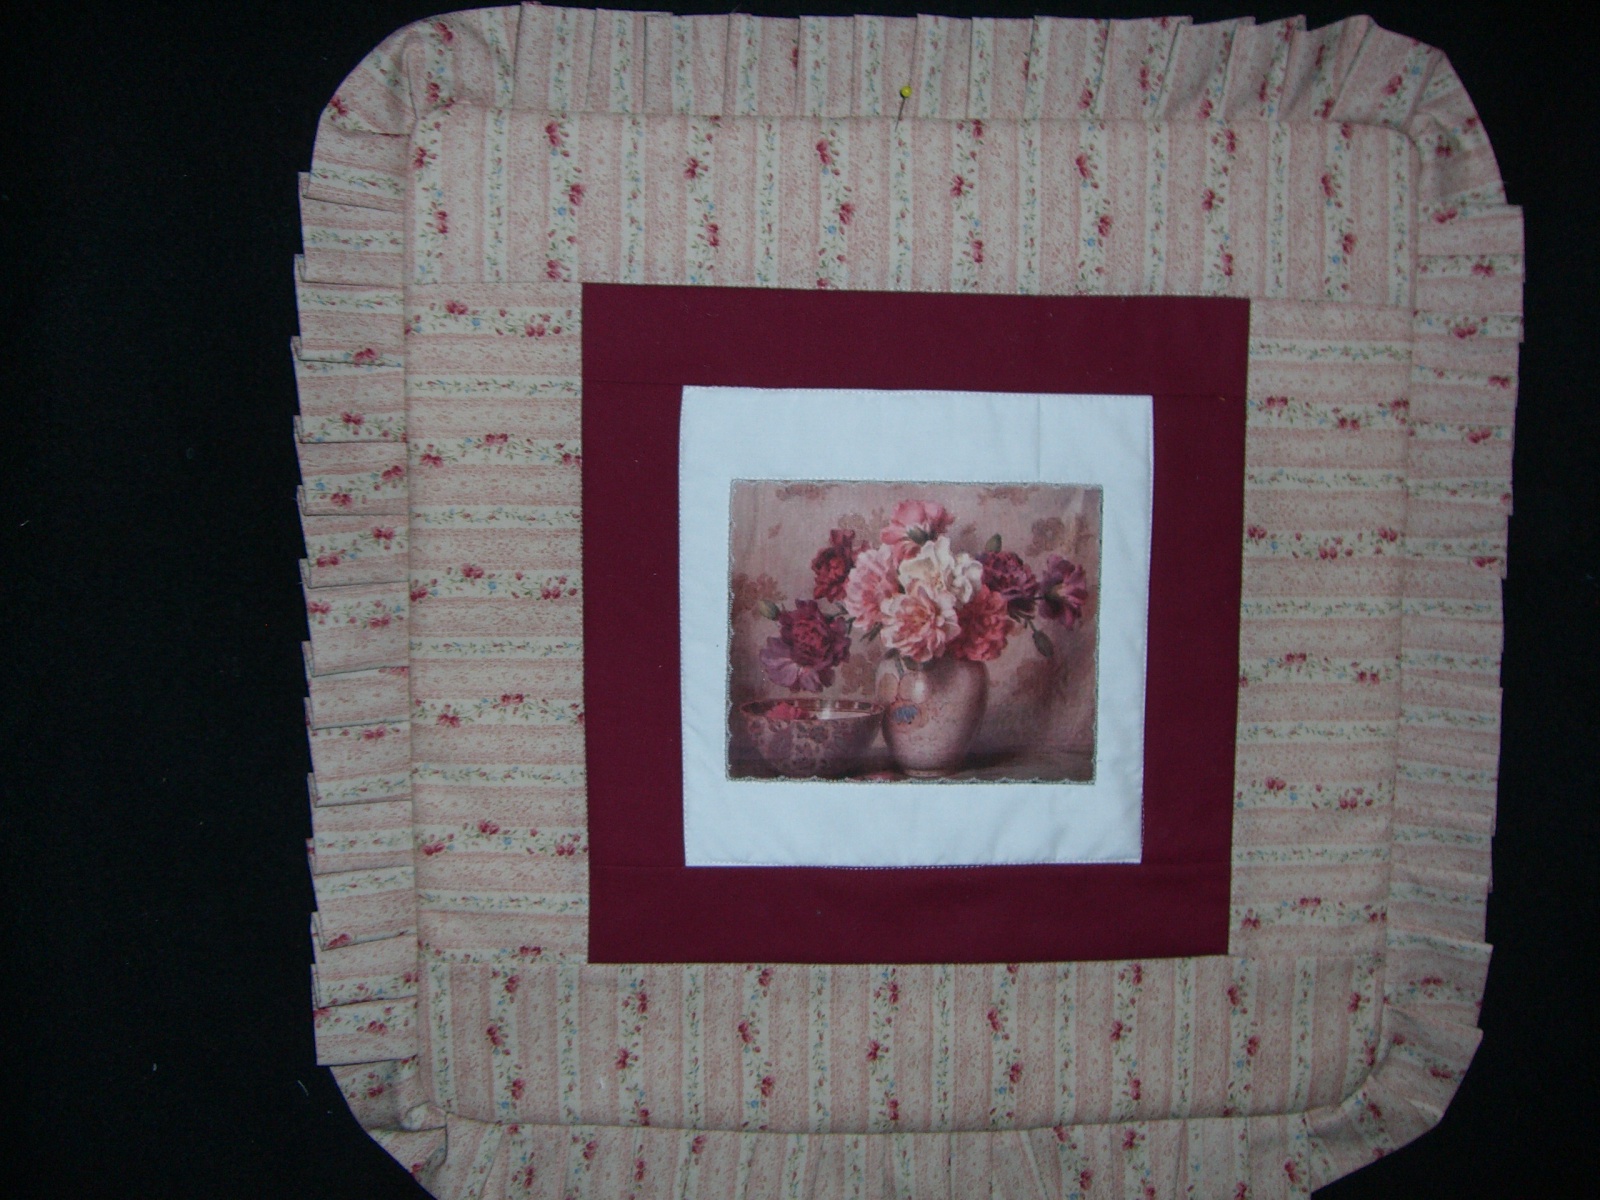
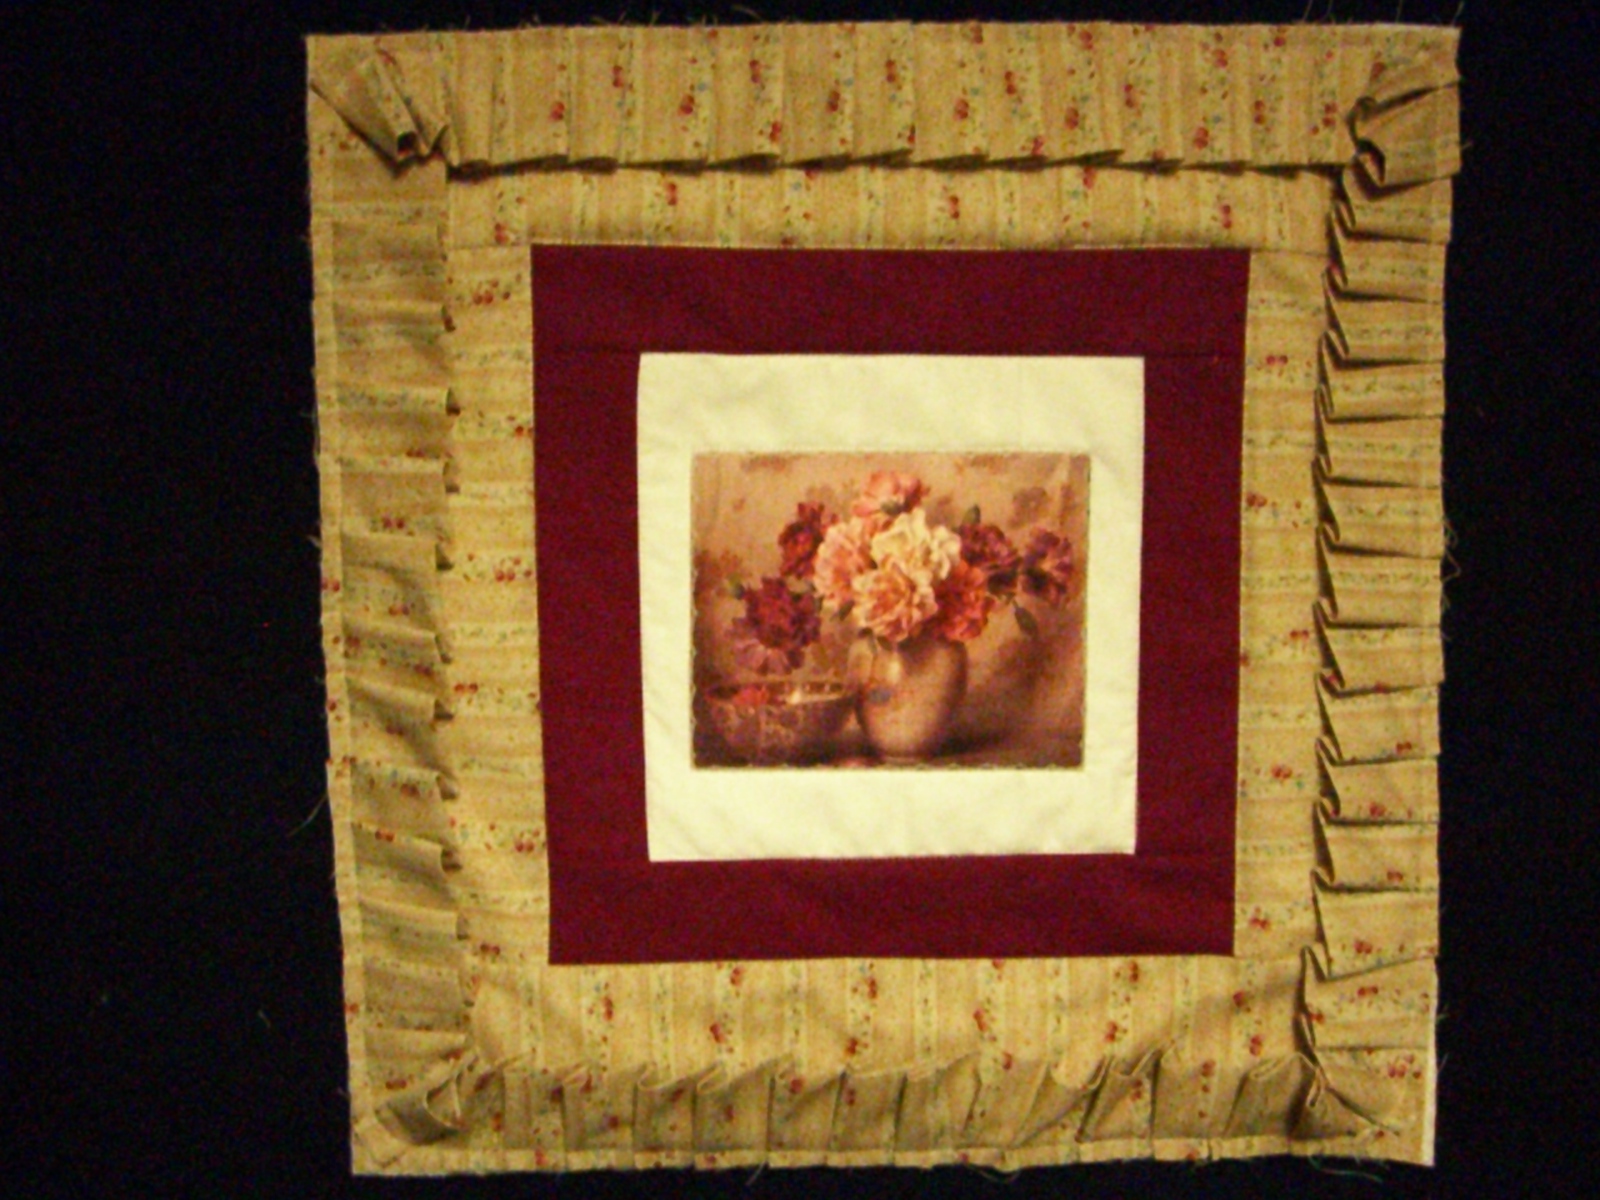
 Memory Photo Pillow Cover  CIMG0571.JPG (630273 bytes) Feb2,03006.jpg (75824 bytes)

Makes one 16” Pillow Cover with Ruffle

Double-click the images for more detail and a larger view

Materials Needed:

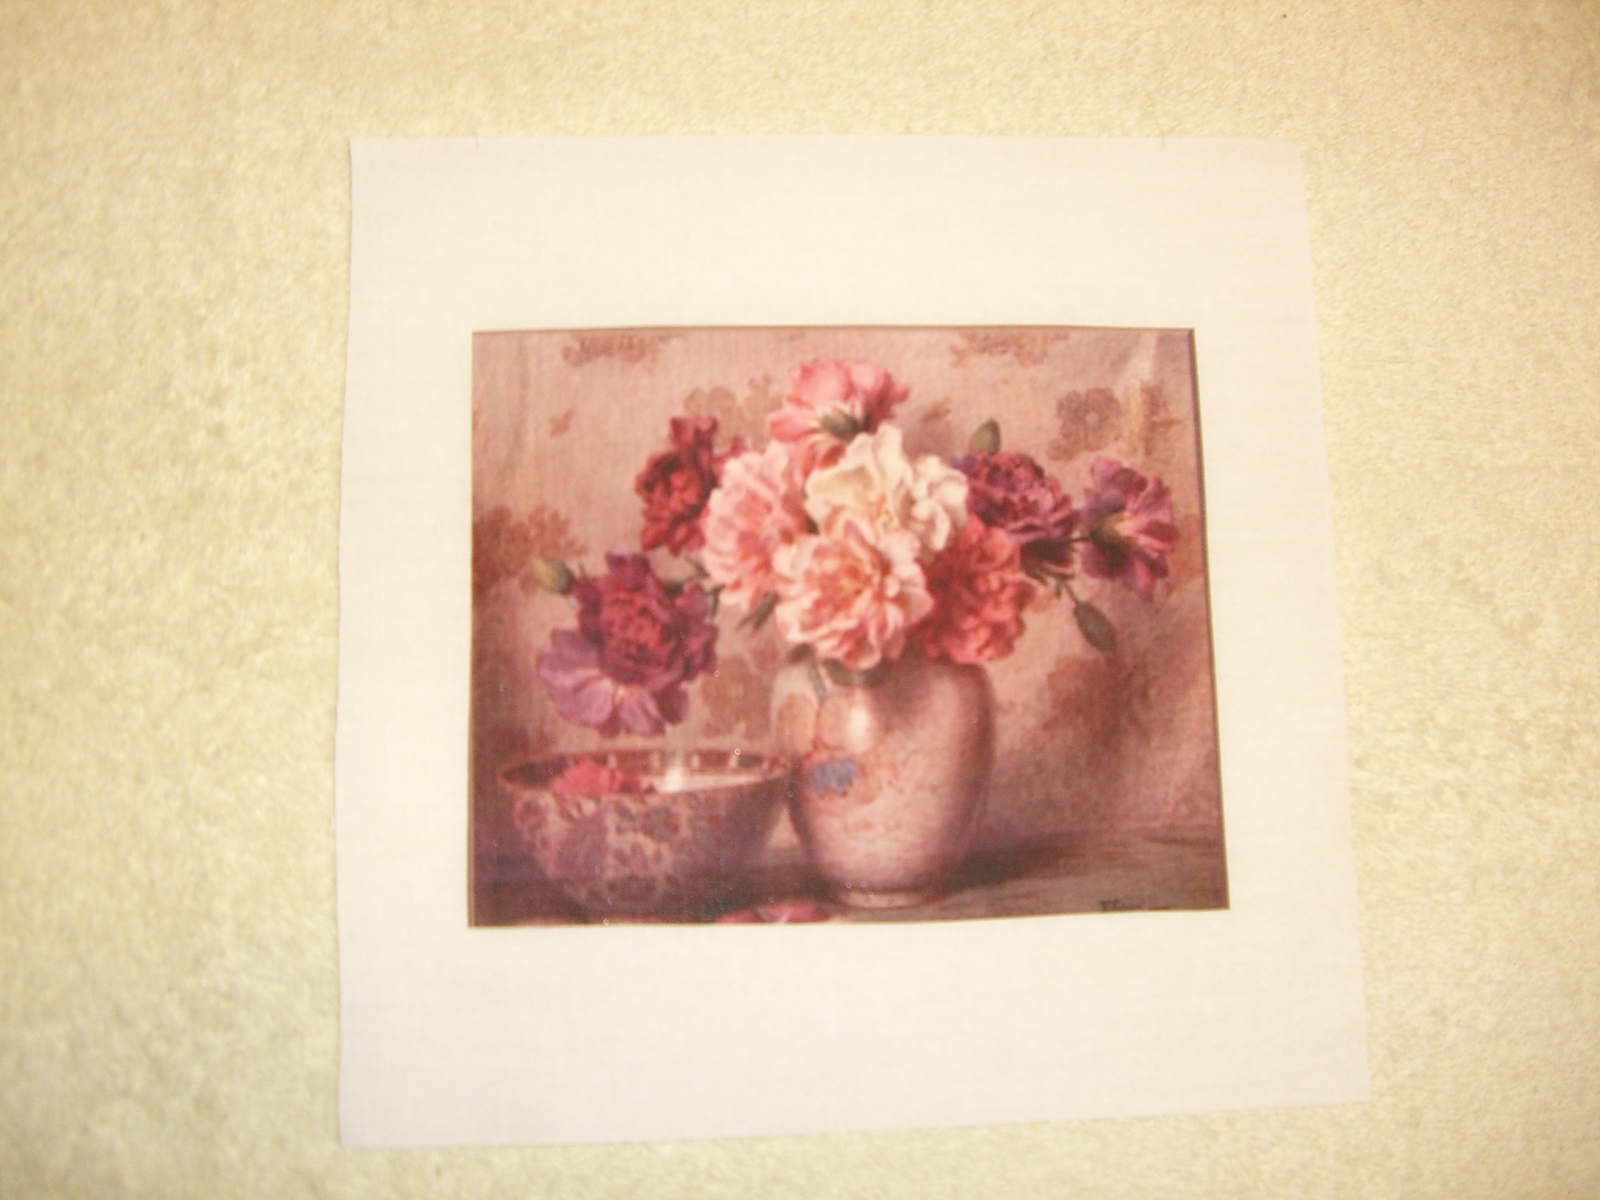
One 8” square light color fabric for photo transfer block

One sheet photo transfer paper-See product information listed under Free Memory Quilt Pattern along with instructions to transfer photo

1/8 yard fabric for inside border

7/8 yard fabric for outside border, ruffle and pillow back

One 16” Pillow Form

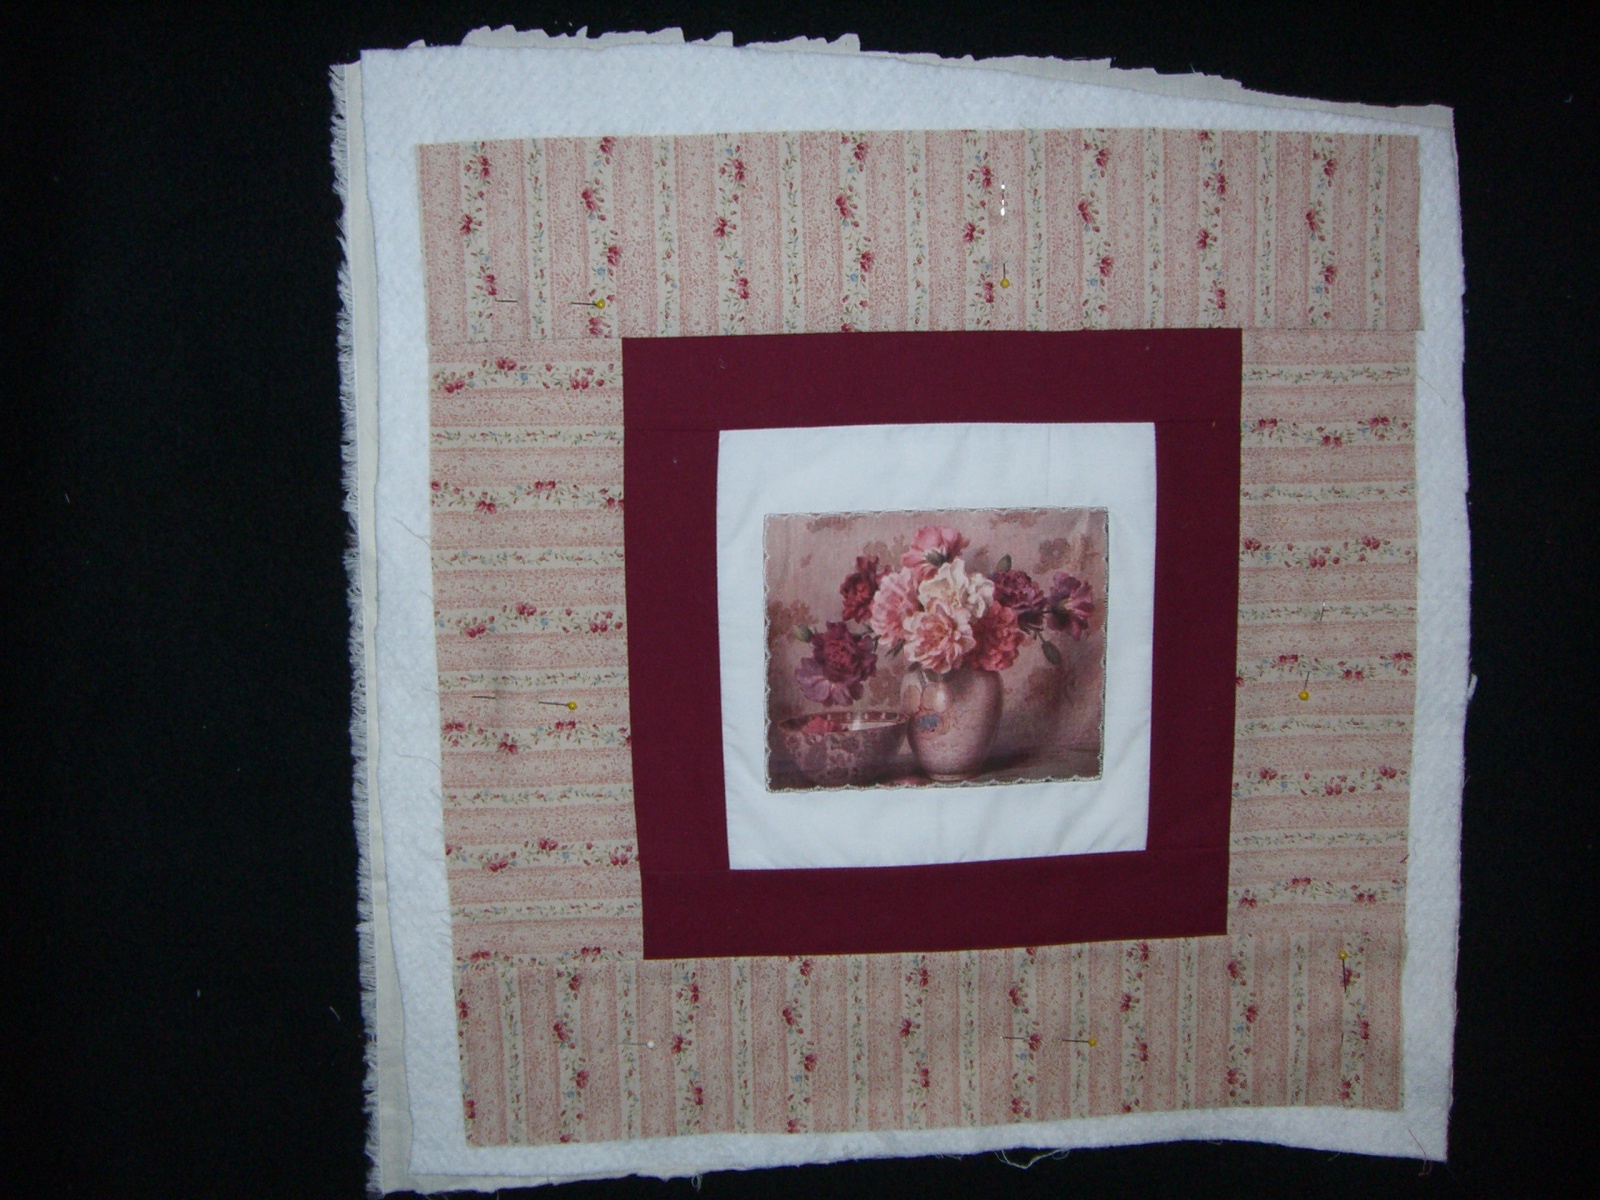
Optional:  If a quilted pillow is desired you will need one 18” square each of thin batting and a plain fabric (like muslin) for pillow top backing.  This prevents the fuzzies from the batting getting into your machine and makes it easier to quilt.

Cut as follows:       wof = width of fabric (most cotton fabrics are usually 44-45” wide)

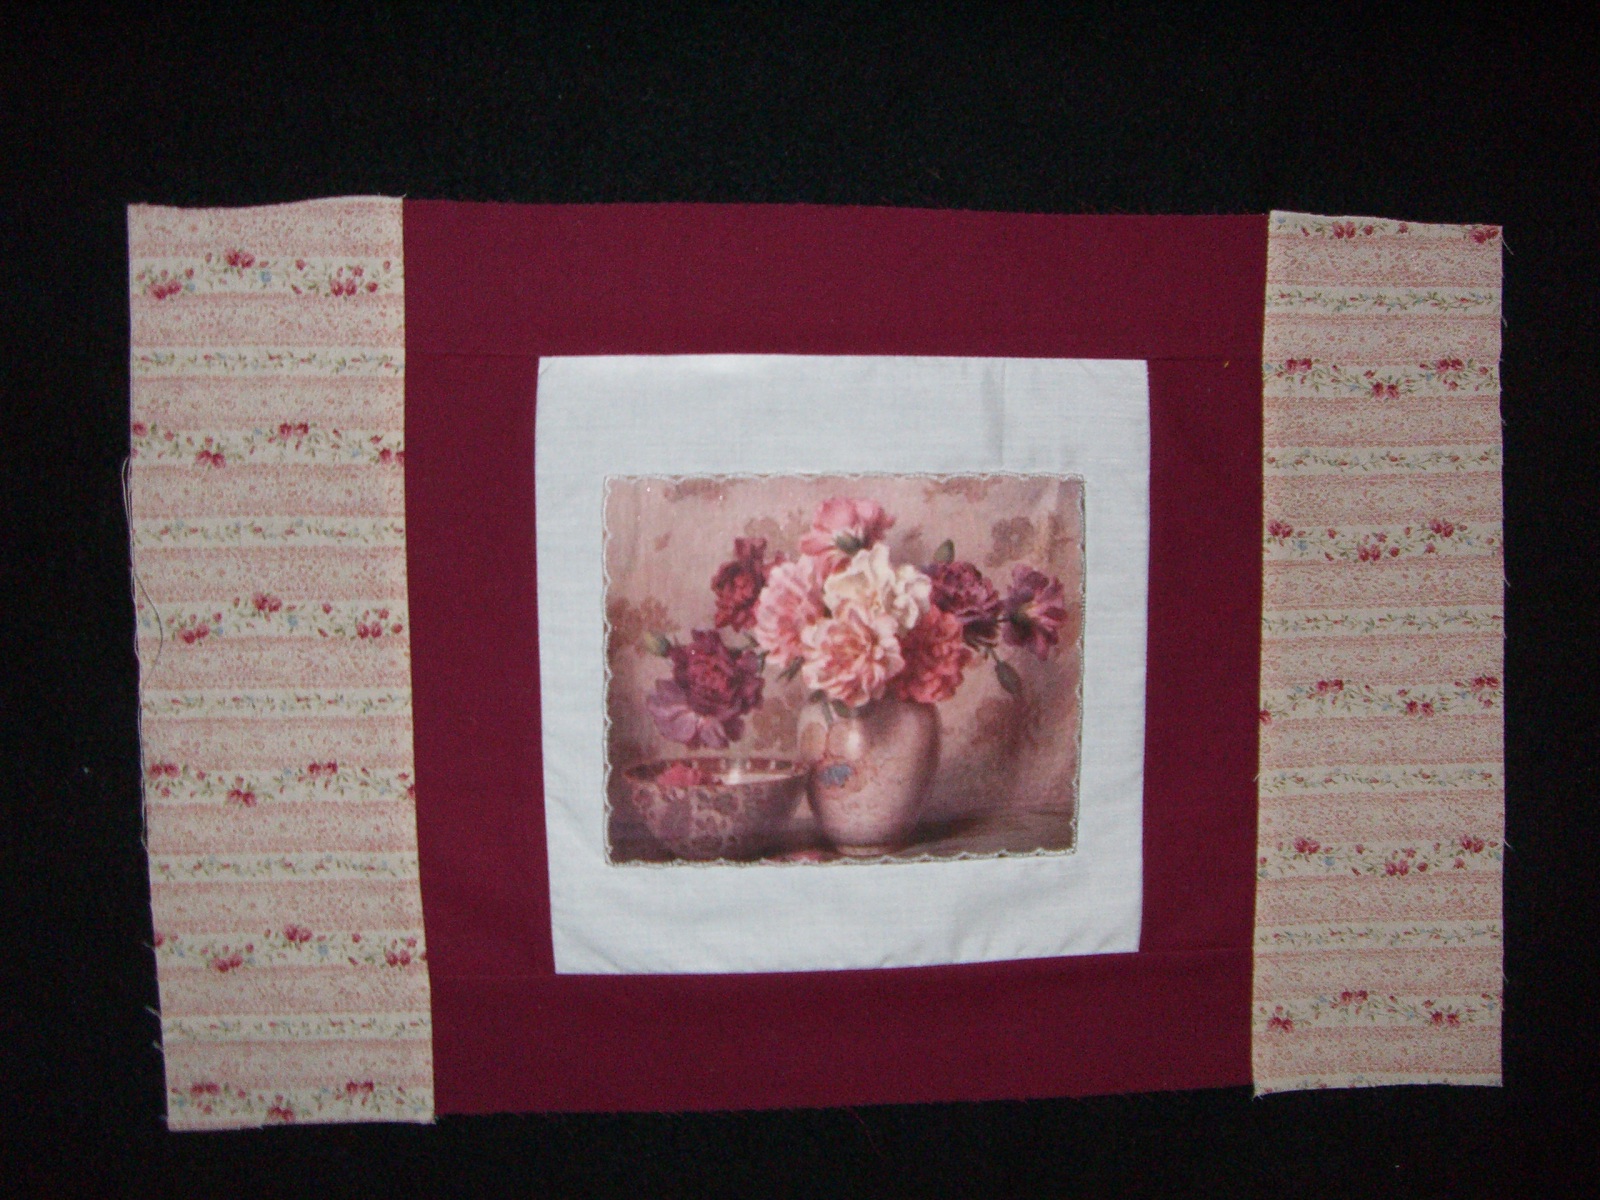
From the inside border fabric:  Cut one strip 2” x wof.  Recut strip to yield two strips 2” x 8” and two strips 2” x 11”.

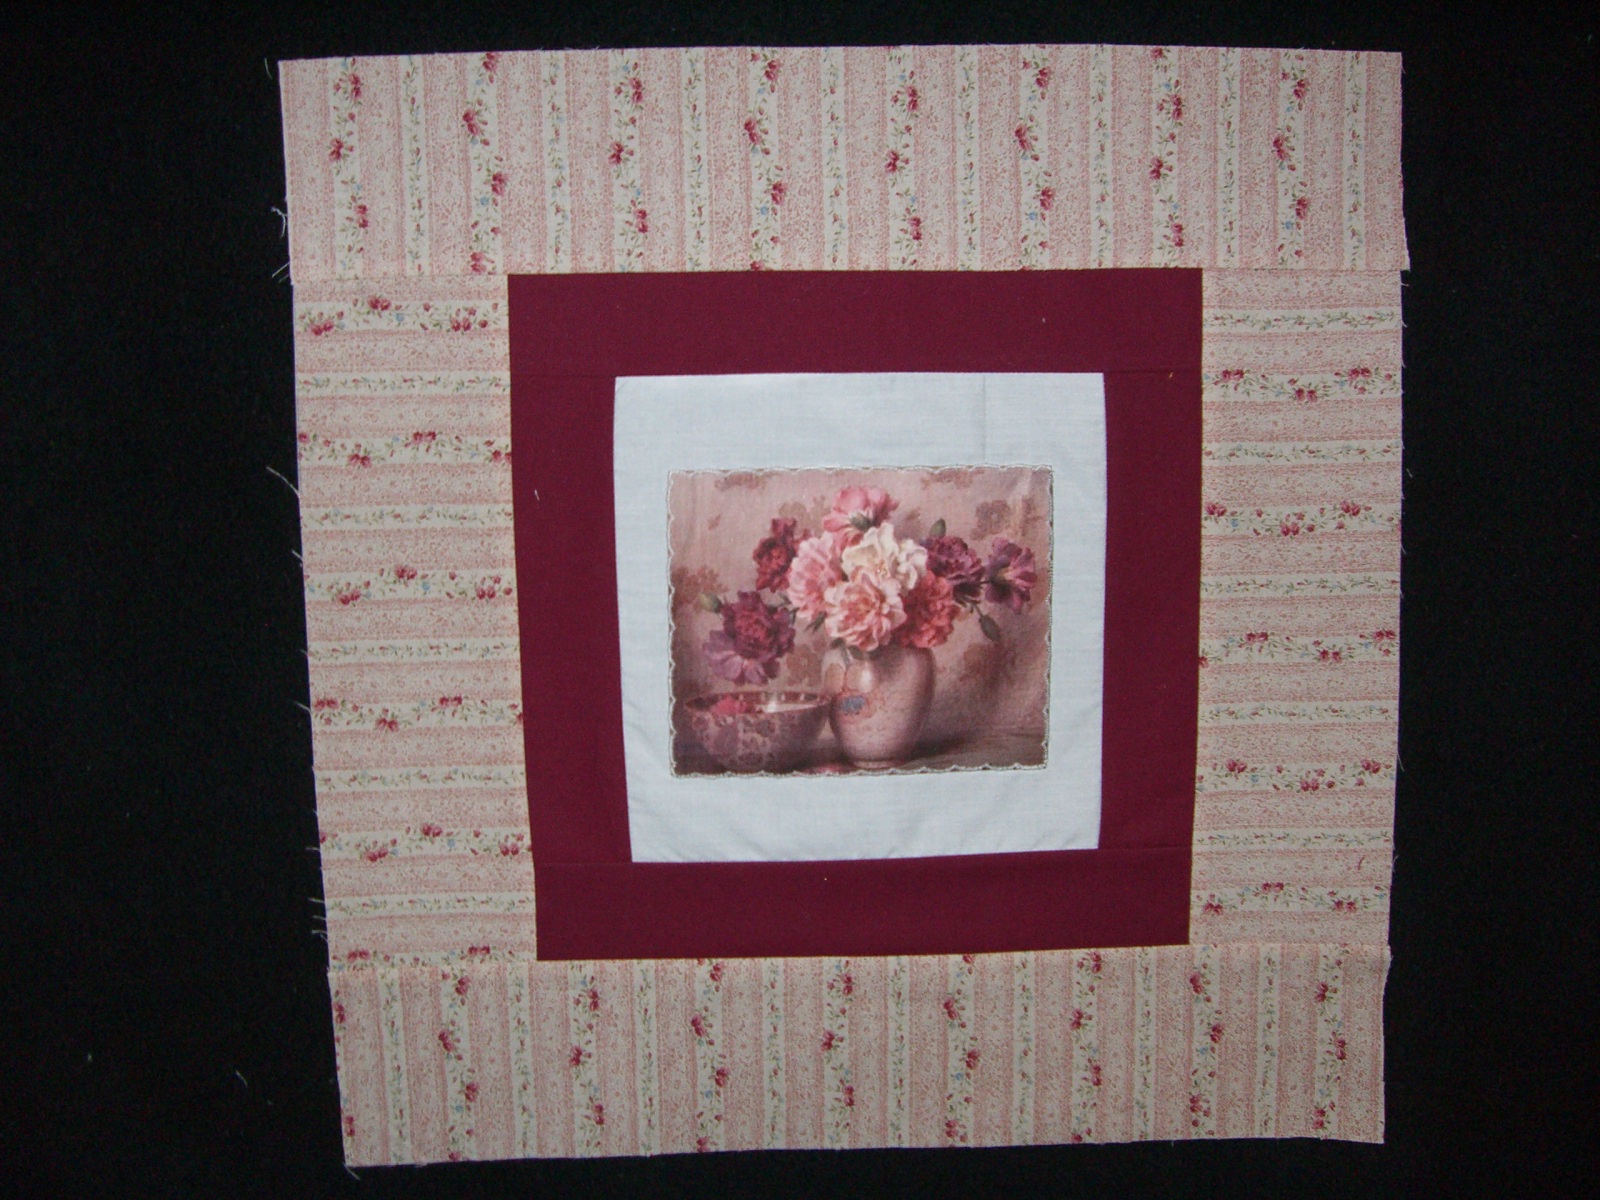
From the outside border/ruffle fabric:  Cut two strips 3 ½” x wof.  Recut strips to yield two strips 3 ½” x 11” and two strips 3 ½” x 17”.  These are the outside border strips.

Also cut three 4” x  wof strips for the ruffle and one 11” x wof strip.  Recut the 11” strip to yield two 11” x 17” pieces (for pillow back).

Instructions:     Use Ό” seam allowance throughout

  1. Copy the photo following Manufacturers directions.  Cut out photo and fuse to the center of the photo fabric 8” block.  Sew a decorative stitch around the photo.

             CIMG0530.JPG (633914 bytes)          

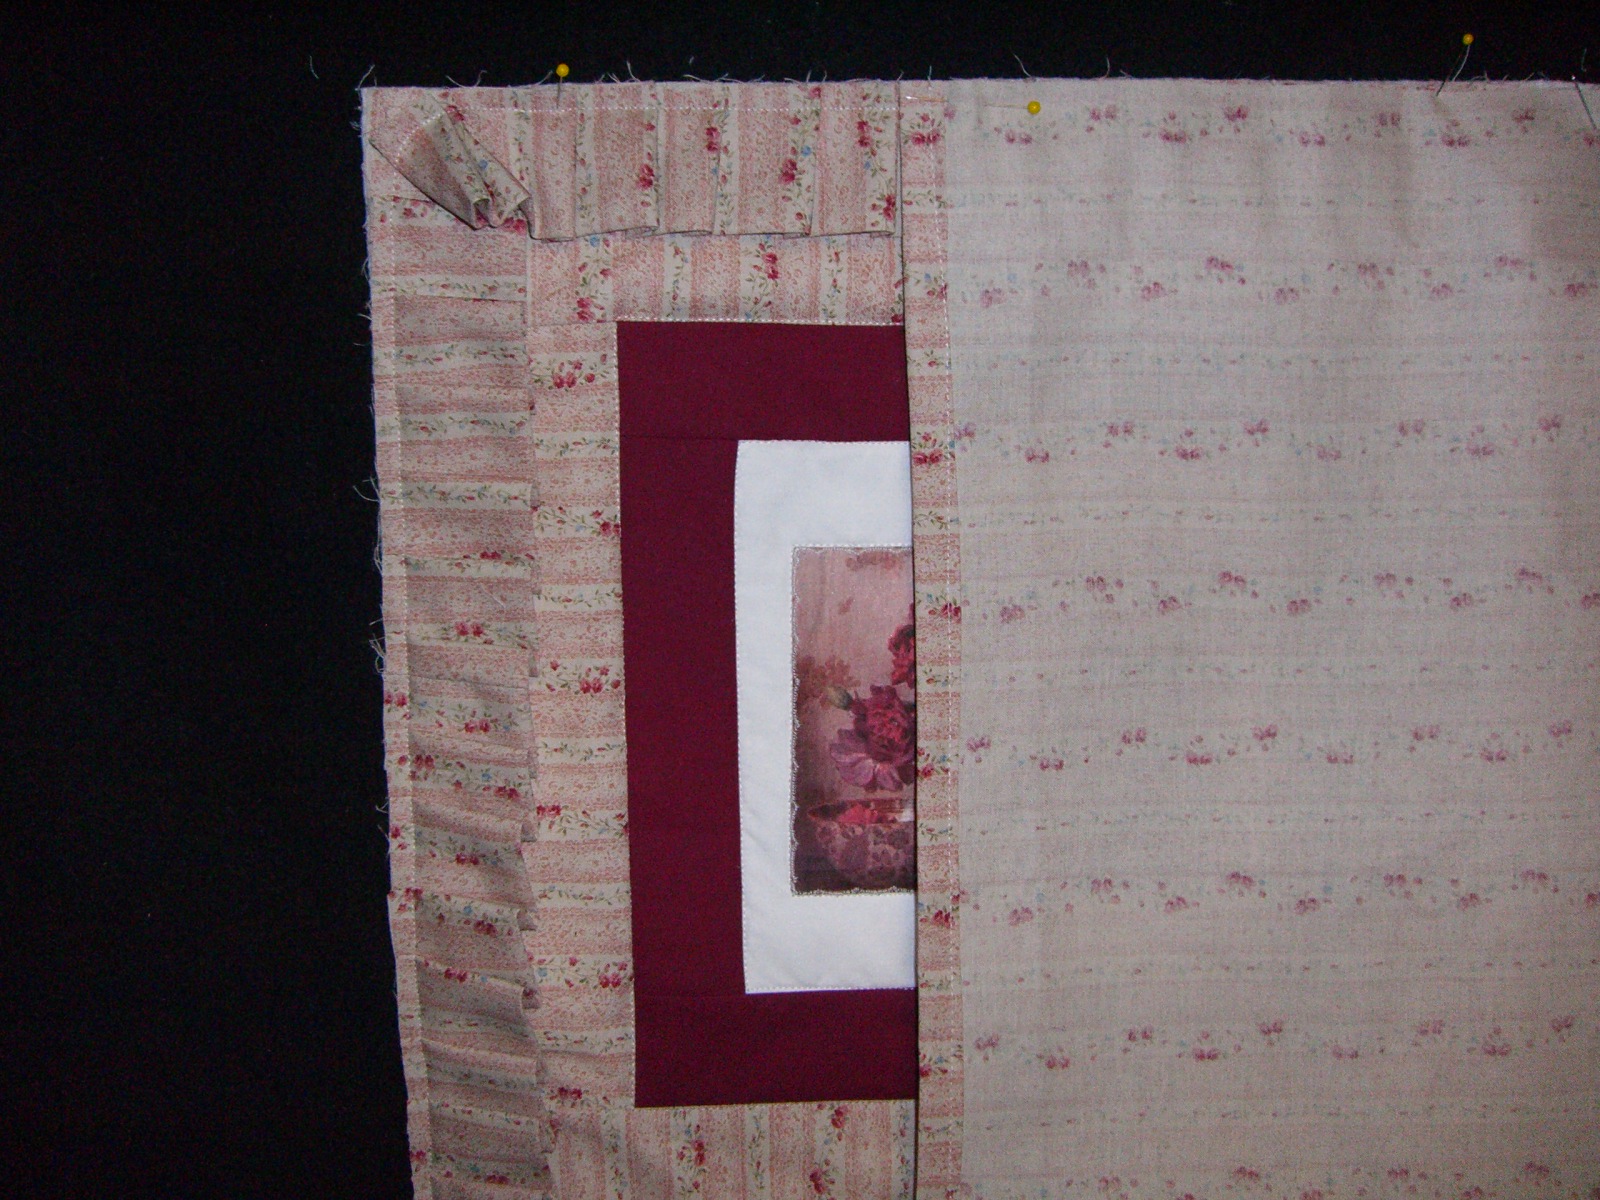
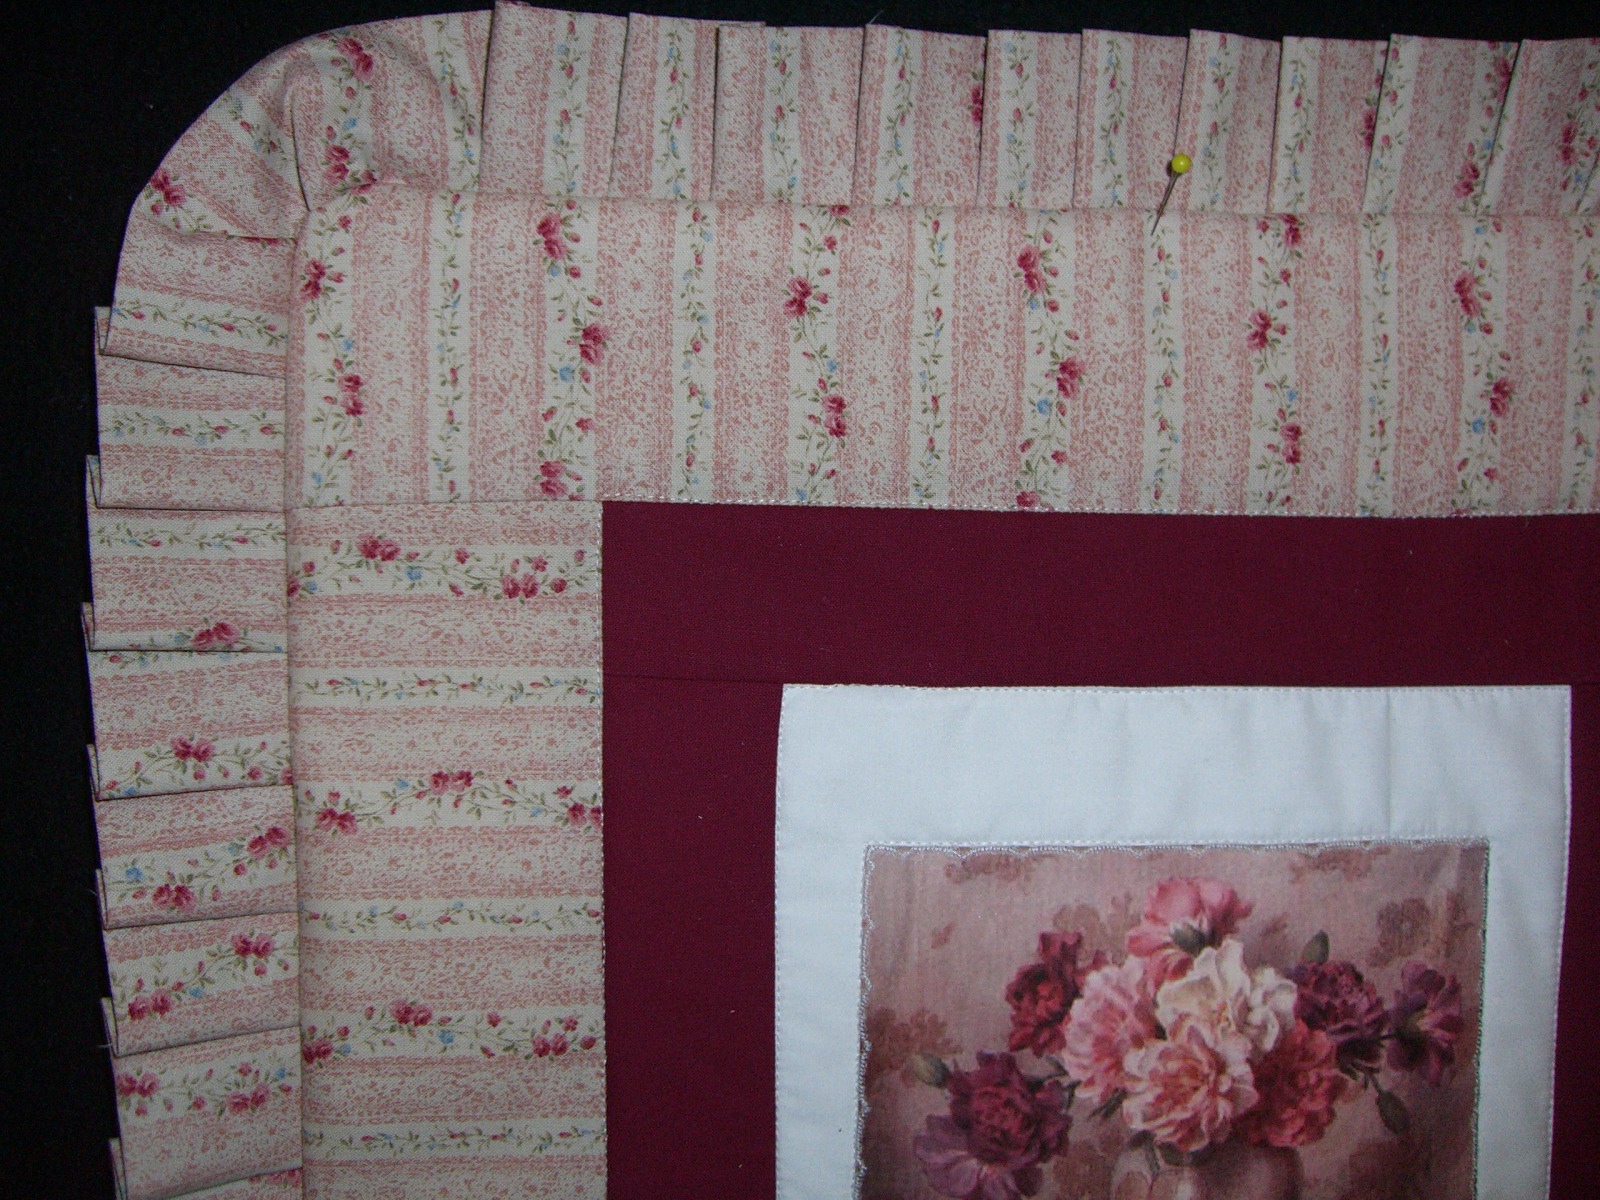
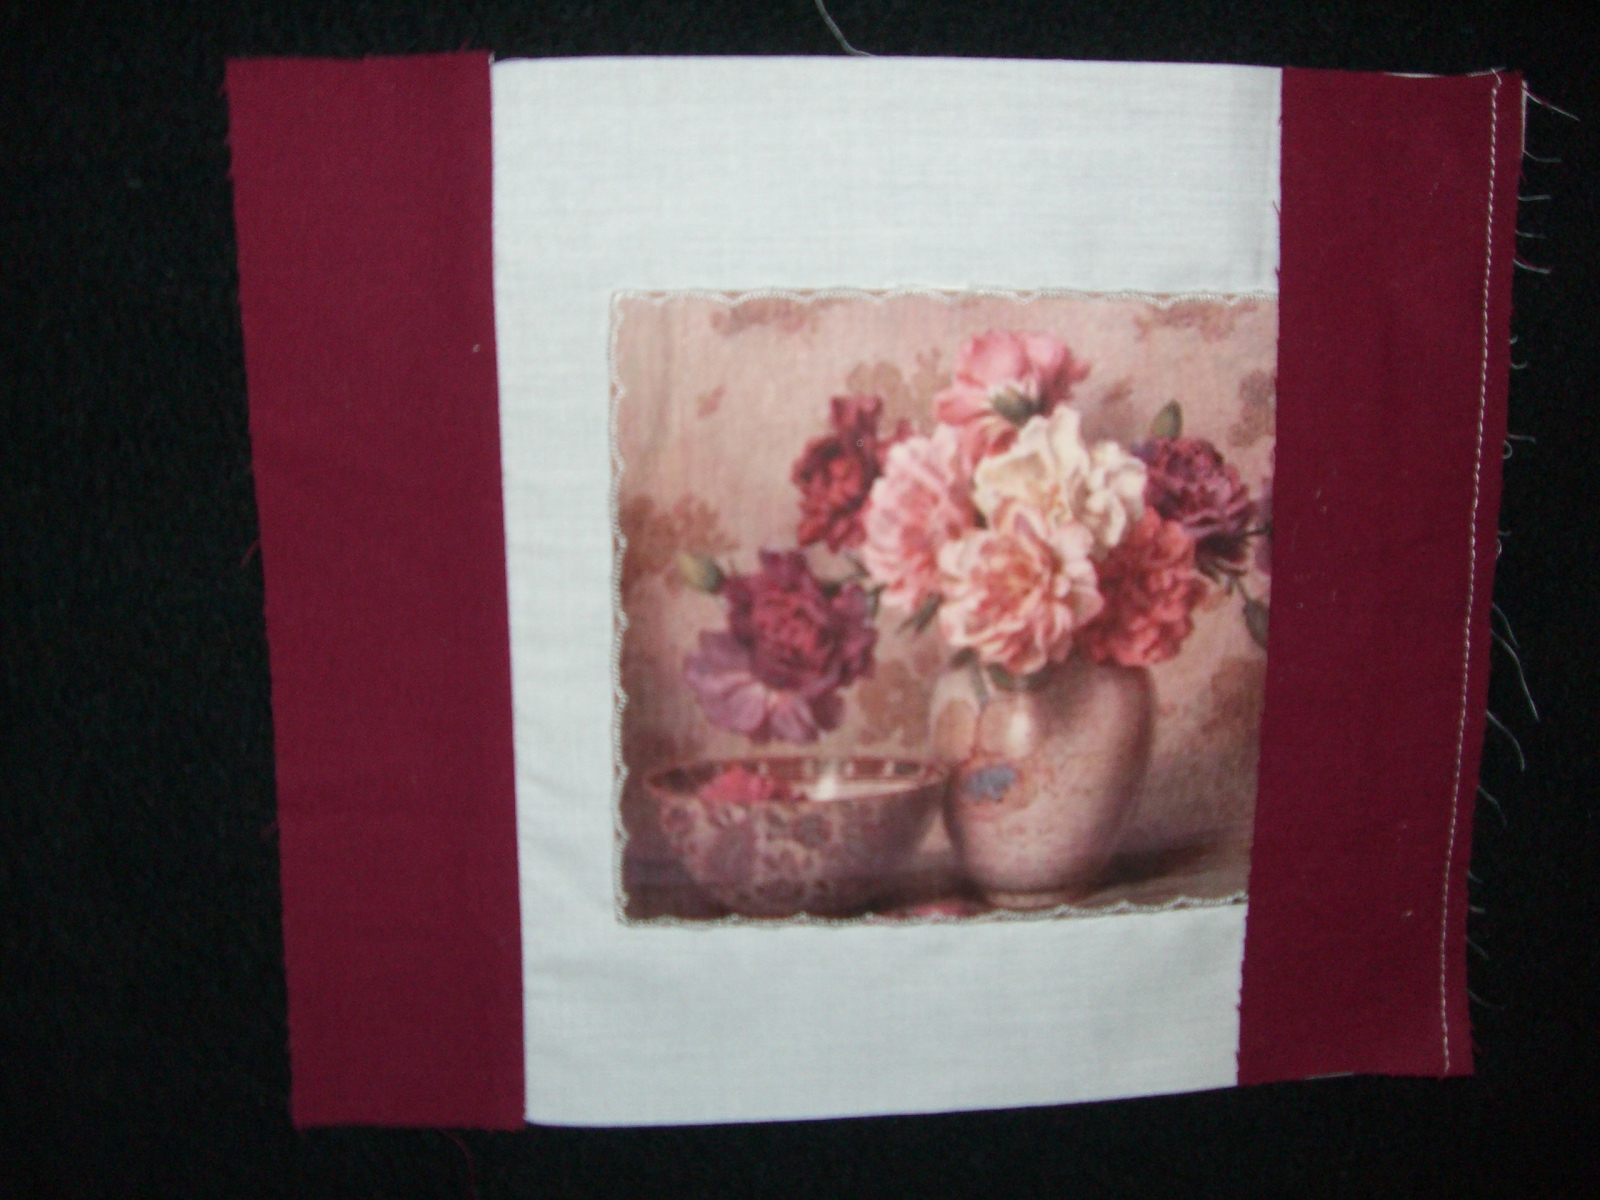
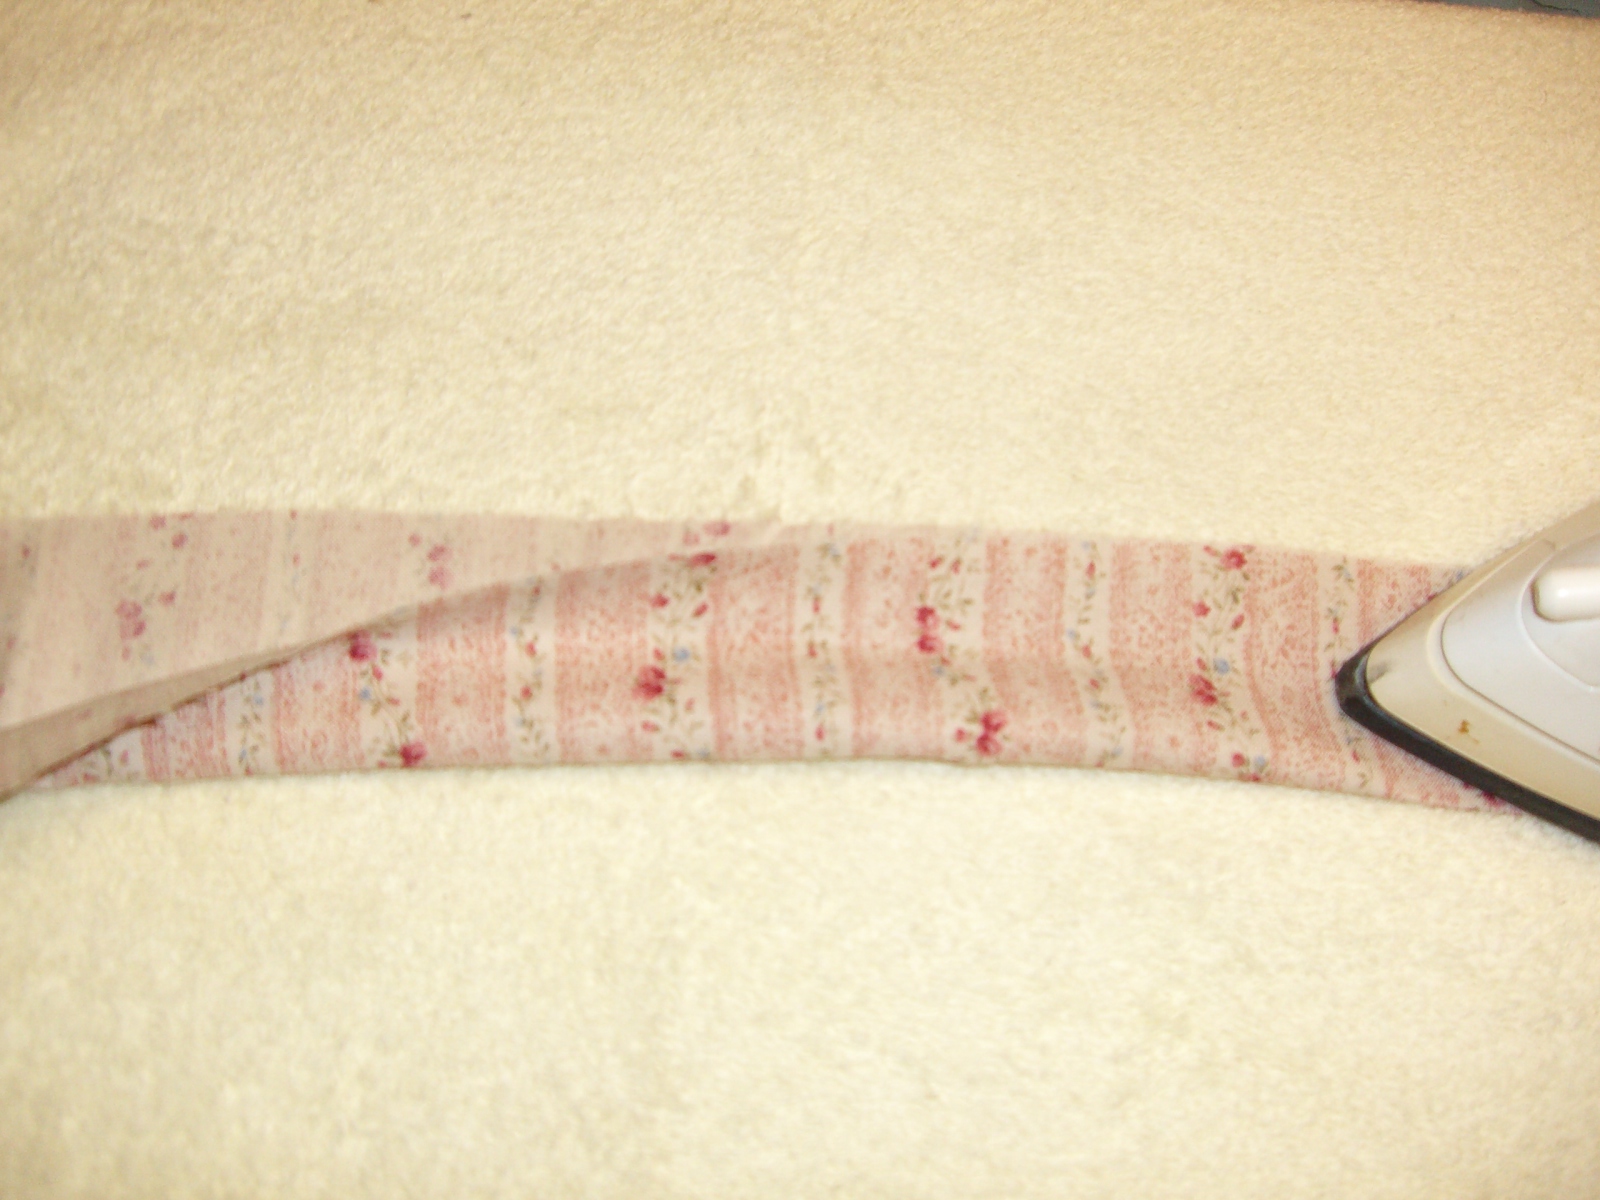
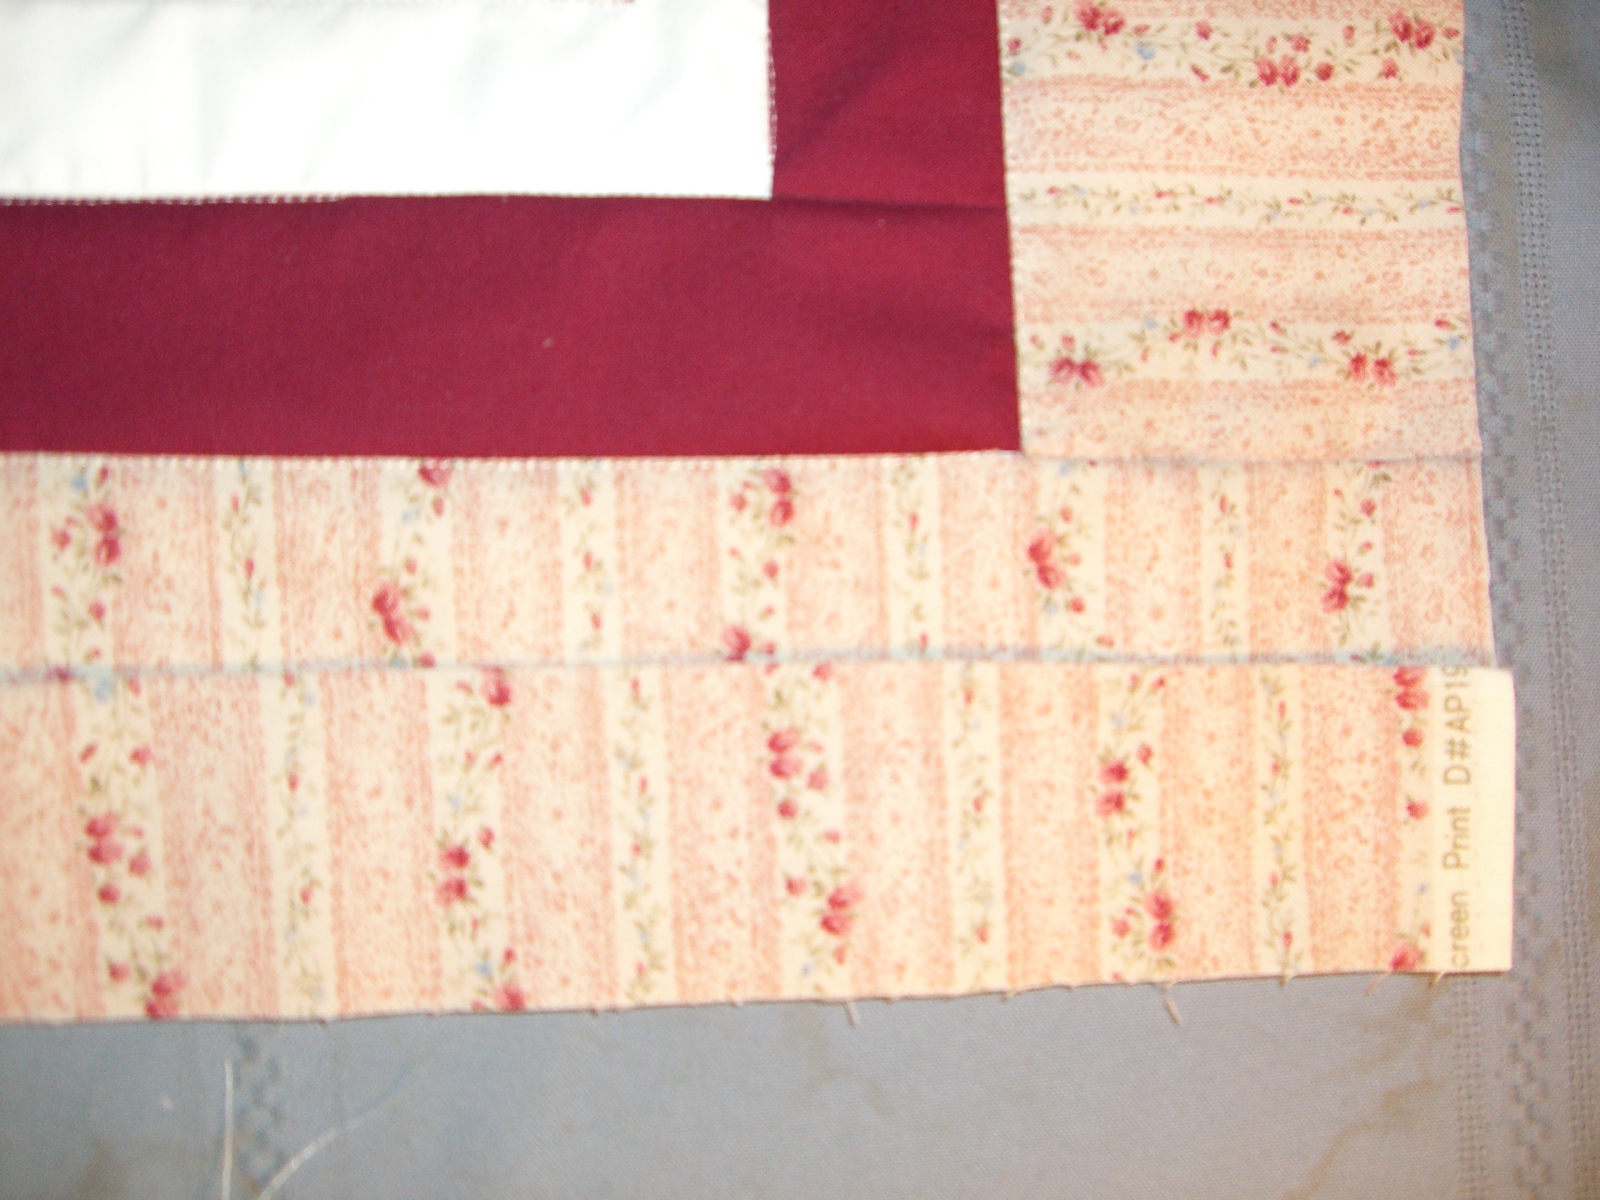
2.   Right sides together and raw edges even, sew an 8” inside border strip to each opposite side of the center photo block.  Open the strips out and press seams towards the darkest fabric.  Sew an 11” border strip to the top and bottom of the center photo block.  Open out and press well.

            CIMG0535.JPG (588722 bytes)     CIMG0536.JPG (611373 bytes)

3.   Following instructions as in step #2, sew an 11” outside border strip to each side of the photo block.  Sew a 17” strip to the top and bottom of the block.  Open out, press as shown. 

          CIMG0537.JPG (627381 bytes)   CIMG0538.JPG (635993 bytes)   CIMG0539.JPG (622304 bytes)

4.   To quilt: Layer the pillow top on the batting and the backing square forming a ‘sandwich’ with the batting in the middle.  Pin in place and quilt as desired.  Trim outside edges even with the pillow top.

          CIMG0540.JPG (639731 bytes)

5.   To make the ruffle, sew the three 4” x wof strips together, short end to short end creating a strip that measures approx. 4” x  132”.  Fold the long strip in half lengthwise and press. 

         CIMG0541.JPG (636298 bytes)

6.   With raw edges even, lay the ruffle strip along the bottom edge of the pillow top (right side) with the strip end even with the pillow side edge as shown.  Start sewing ruffle in place approx. 6” from the end of strip or at the center point of the pillow top. 

          CIMG0542.JPG (632425 bytes)    CIMG0543.JPG (643920 bytes)         

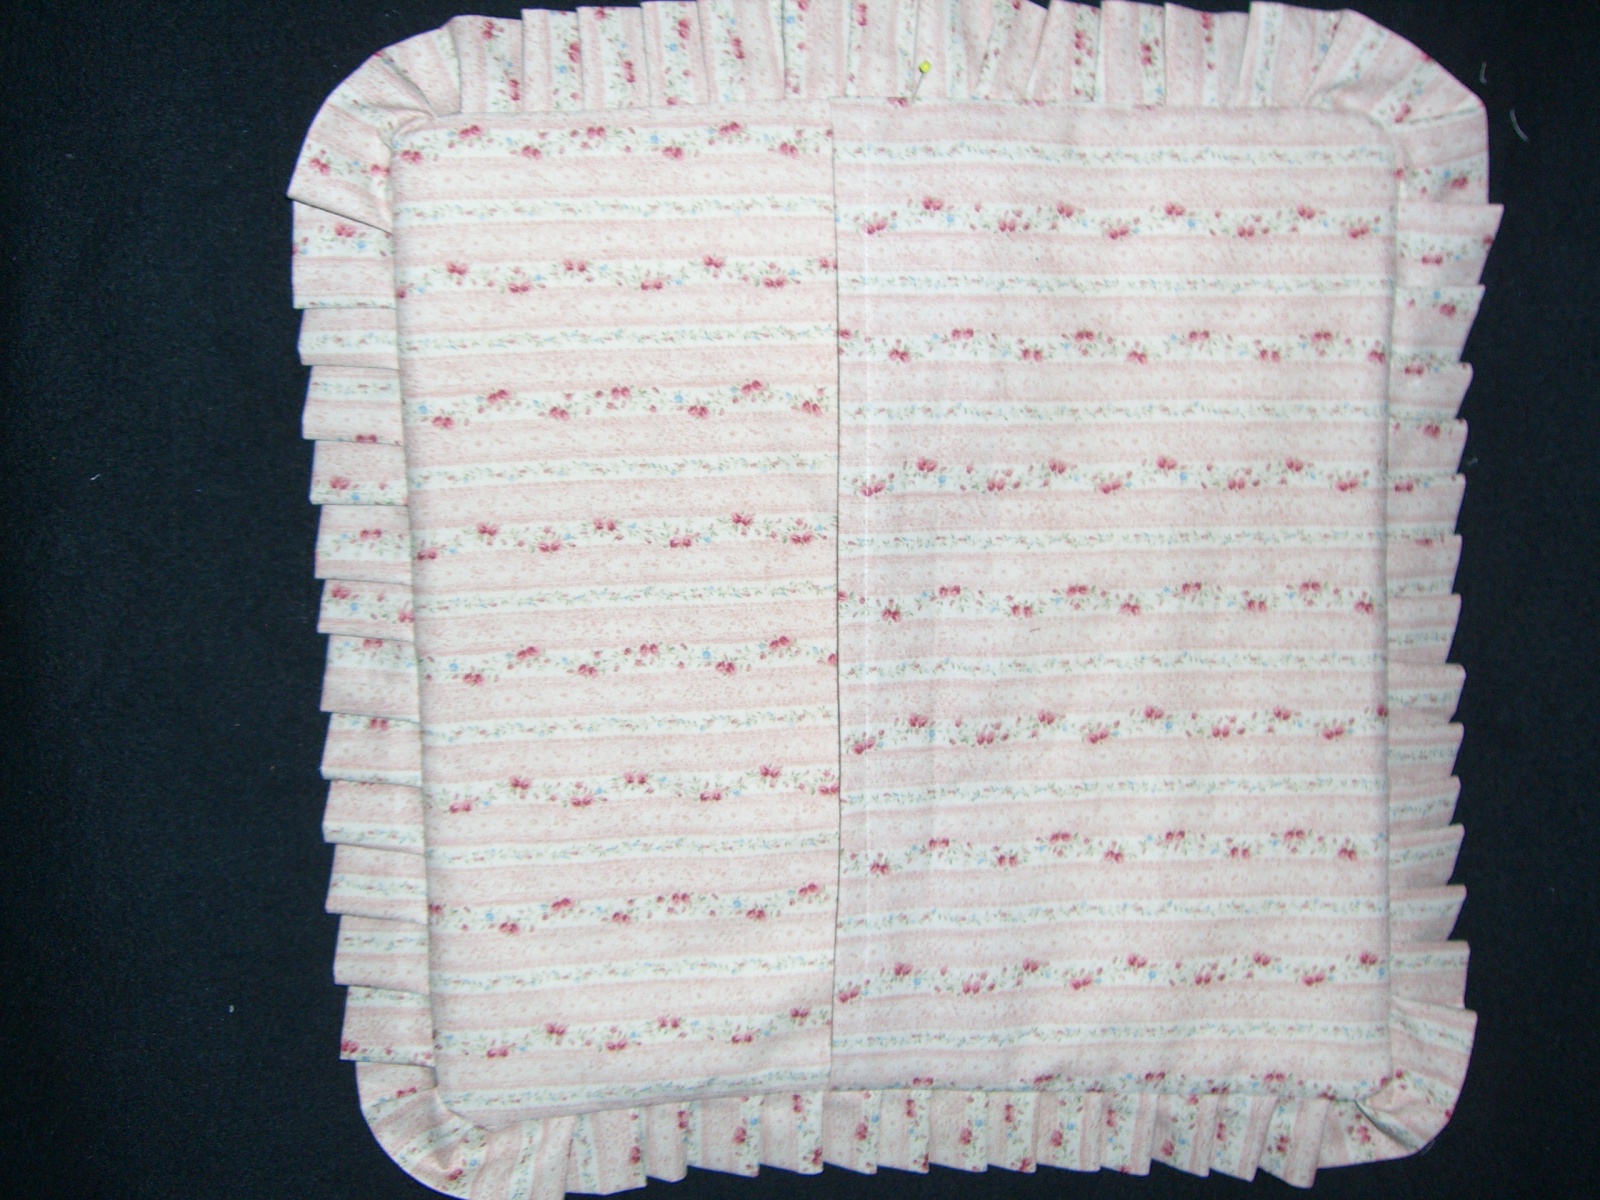
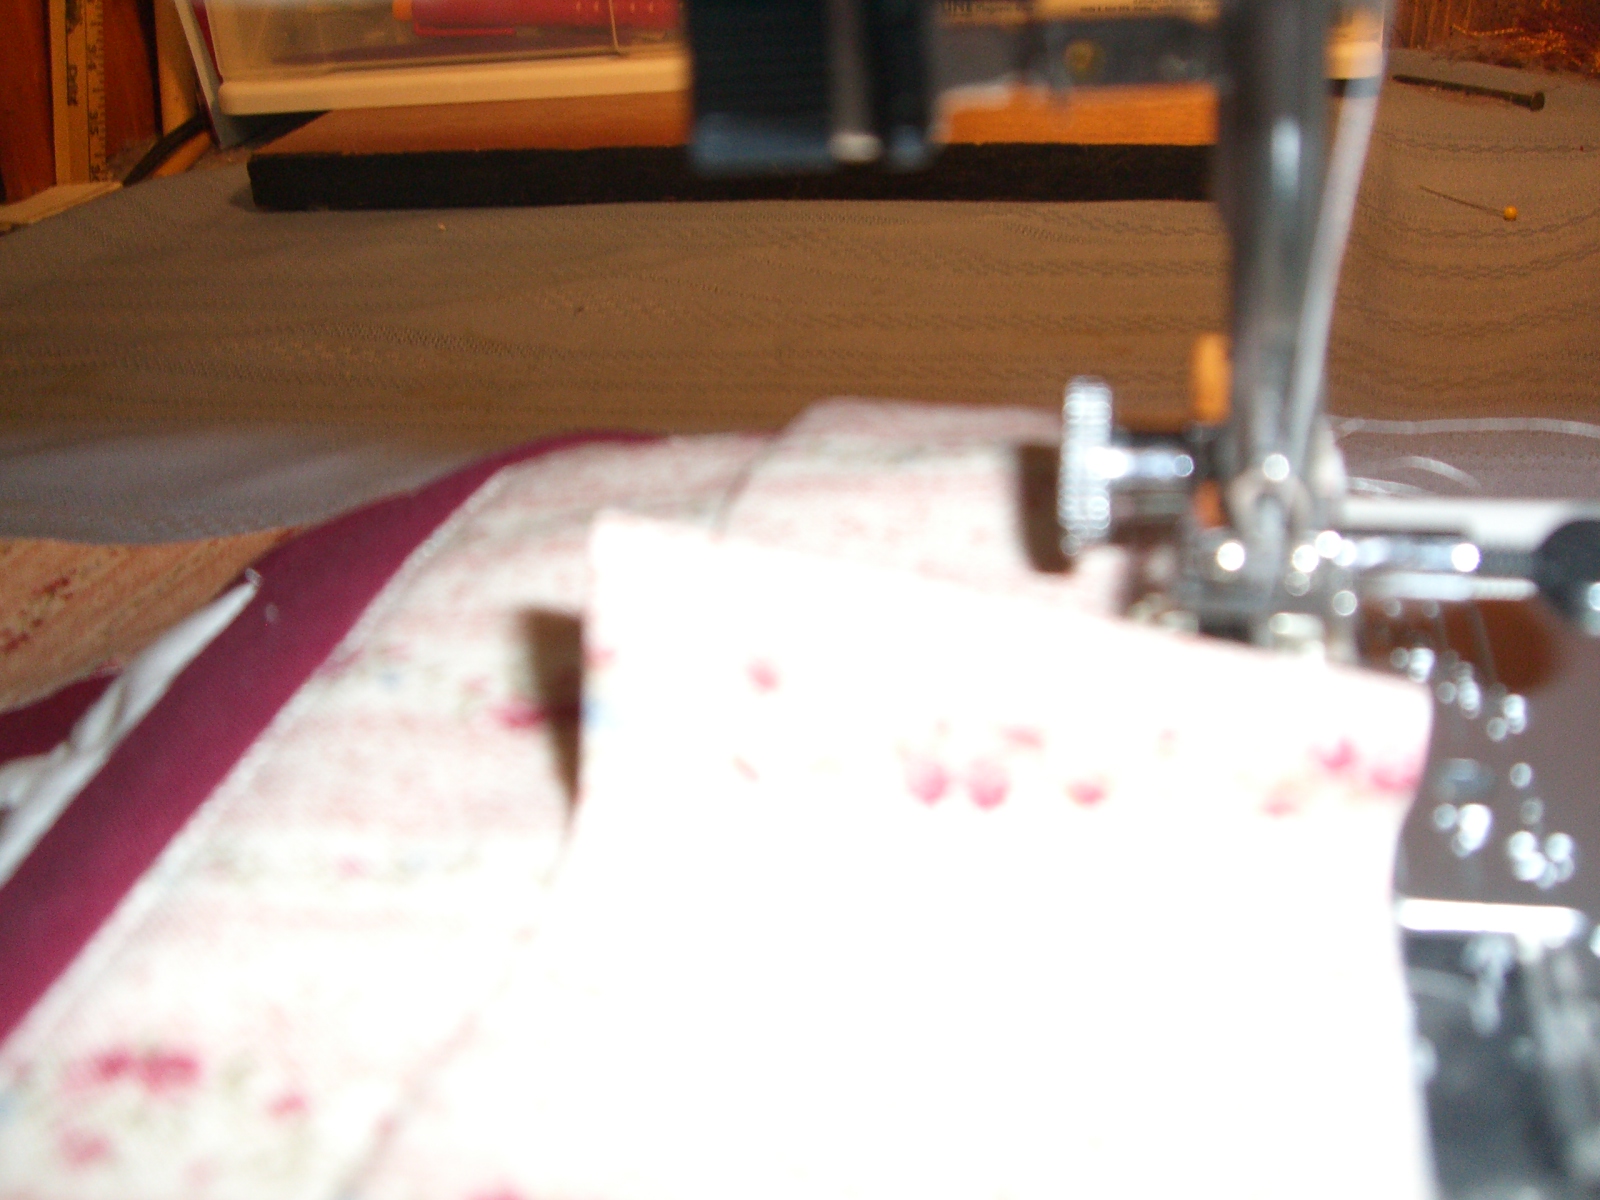
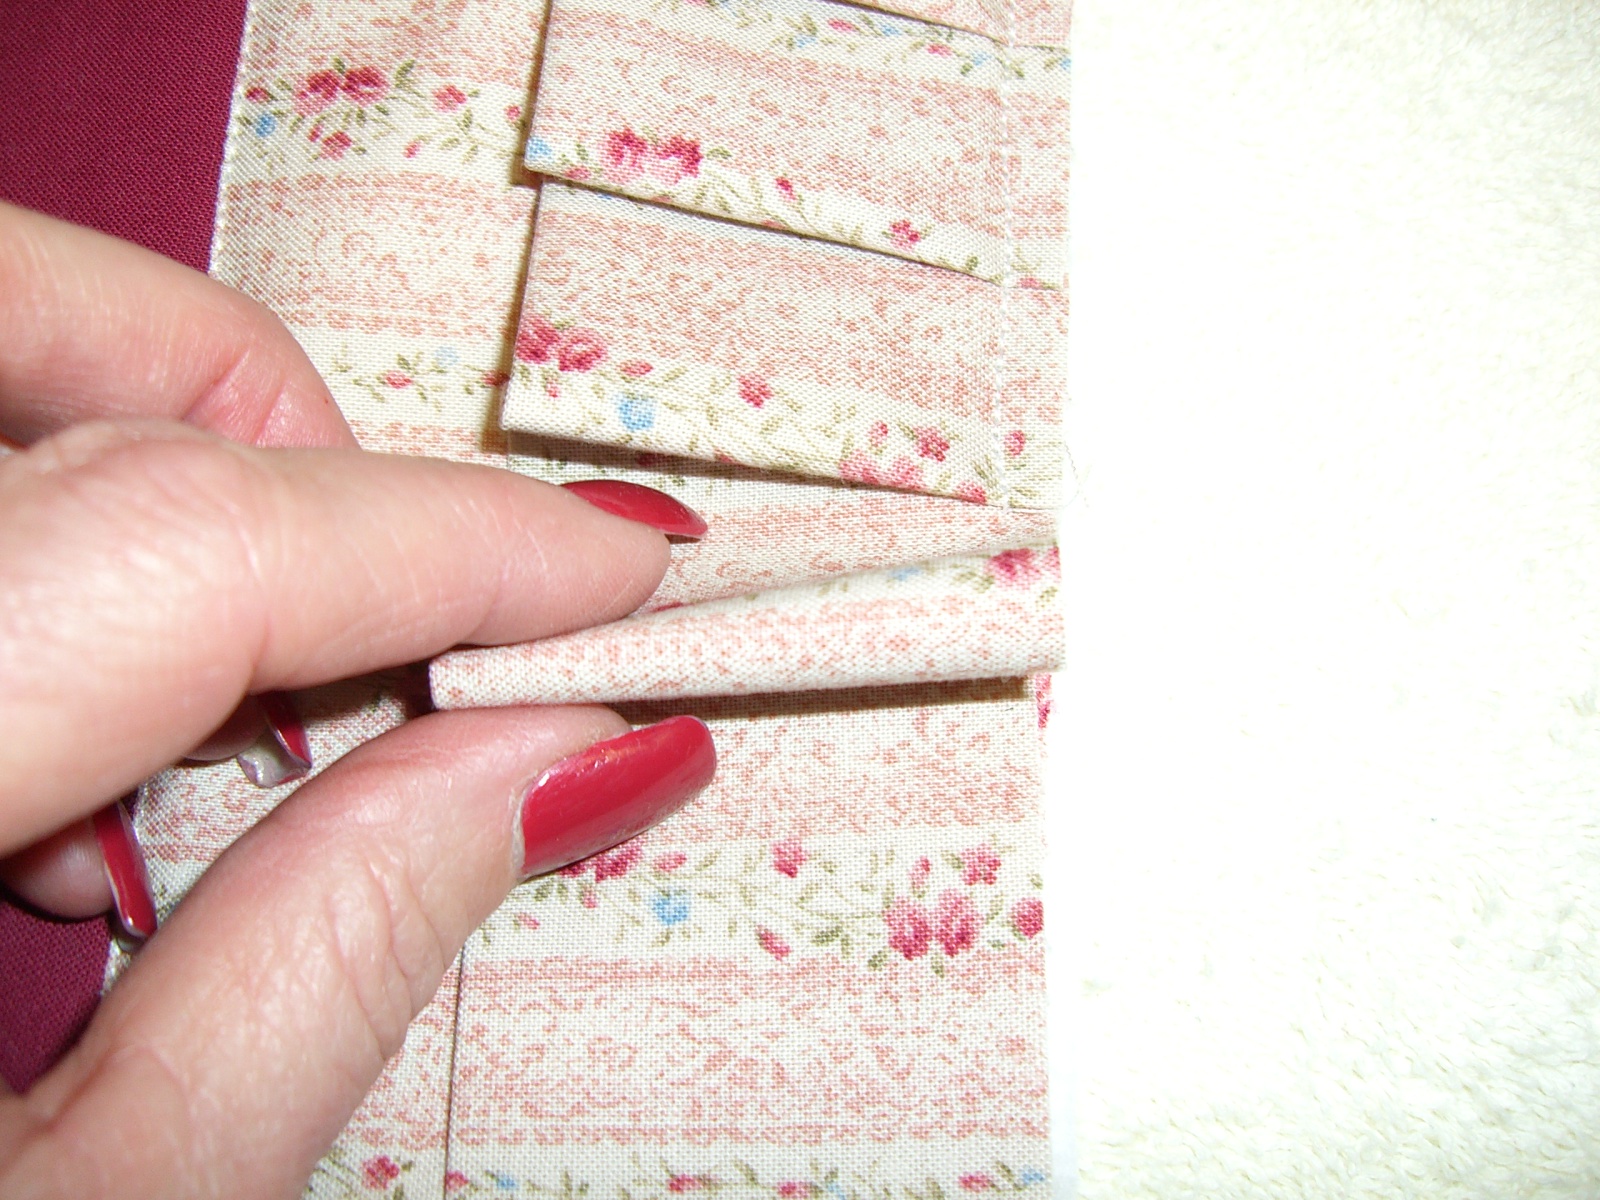
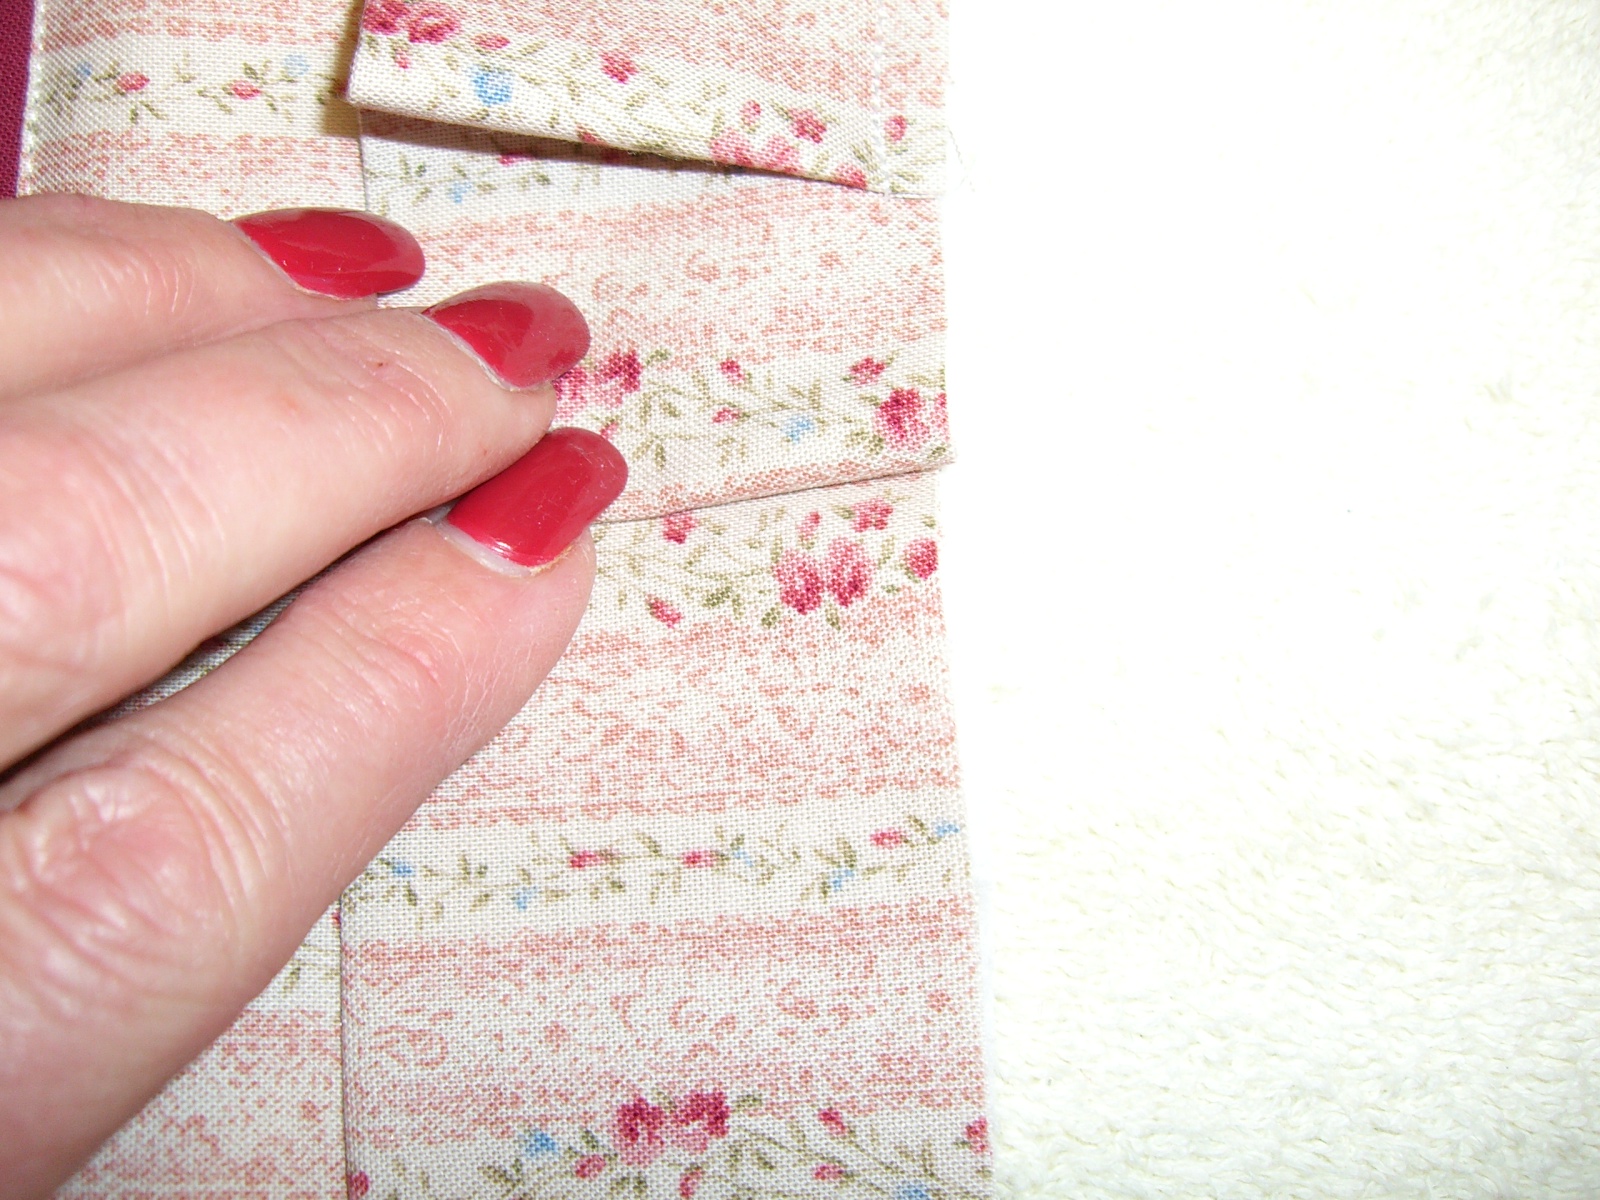
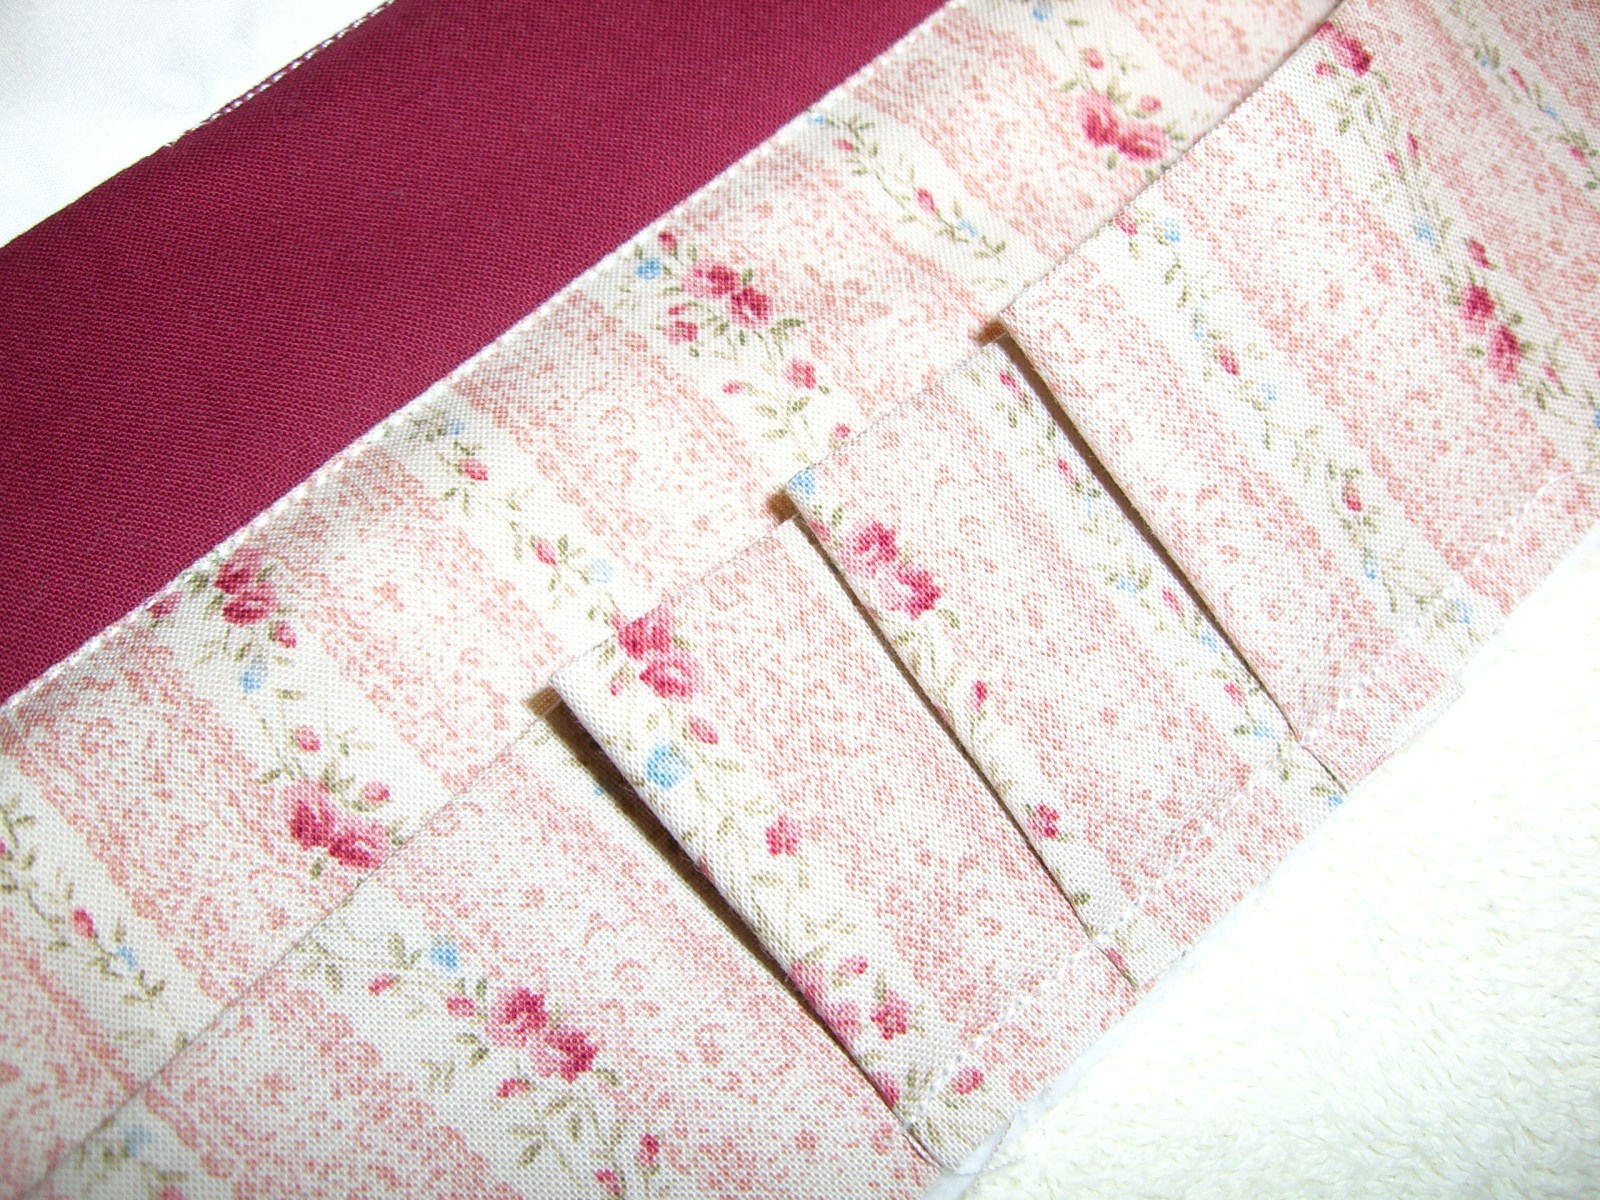
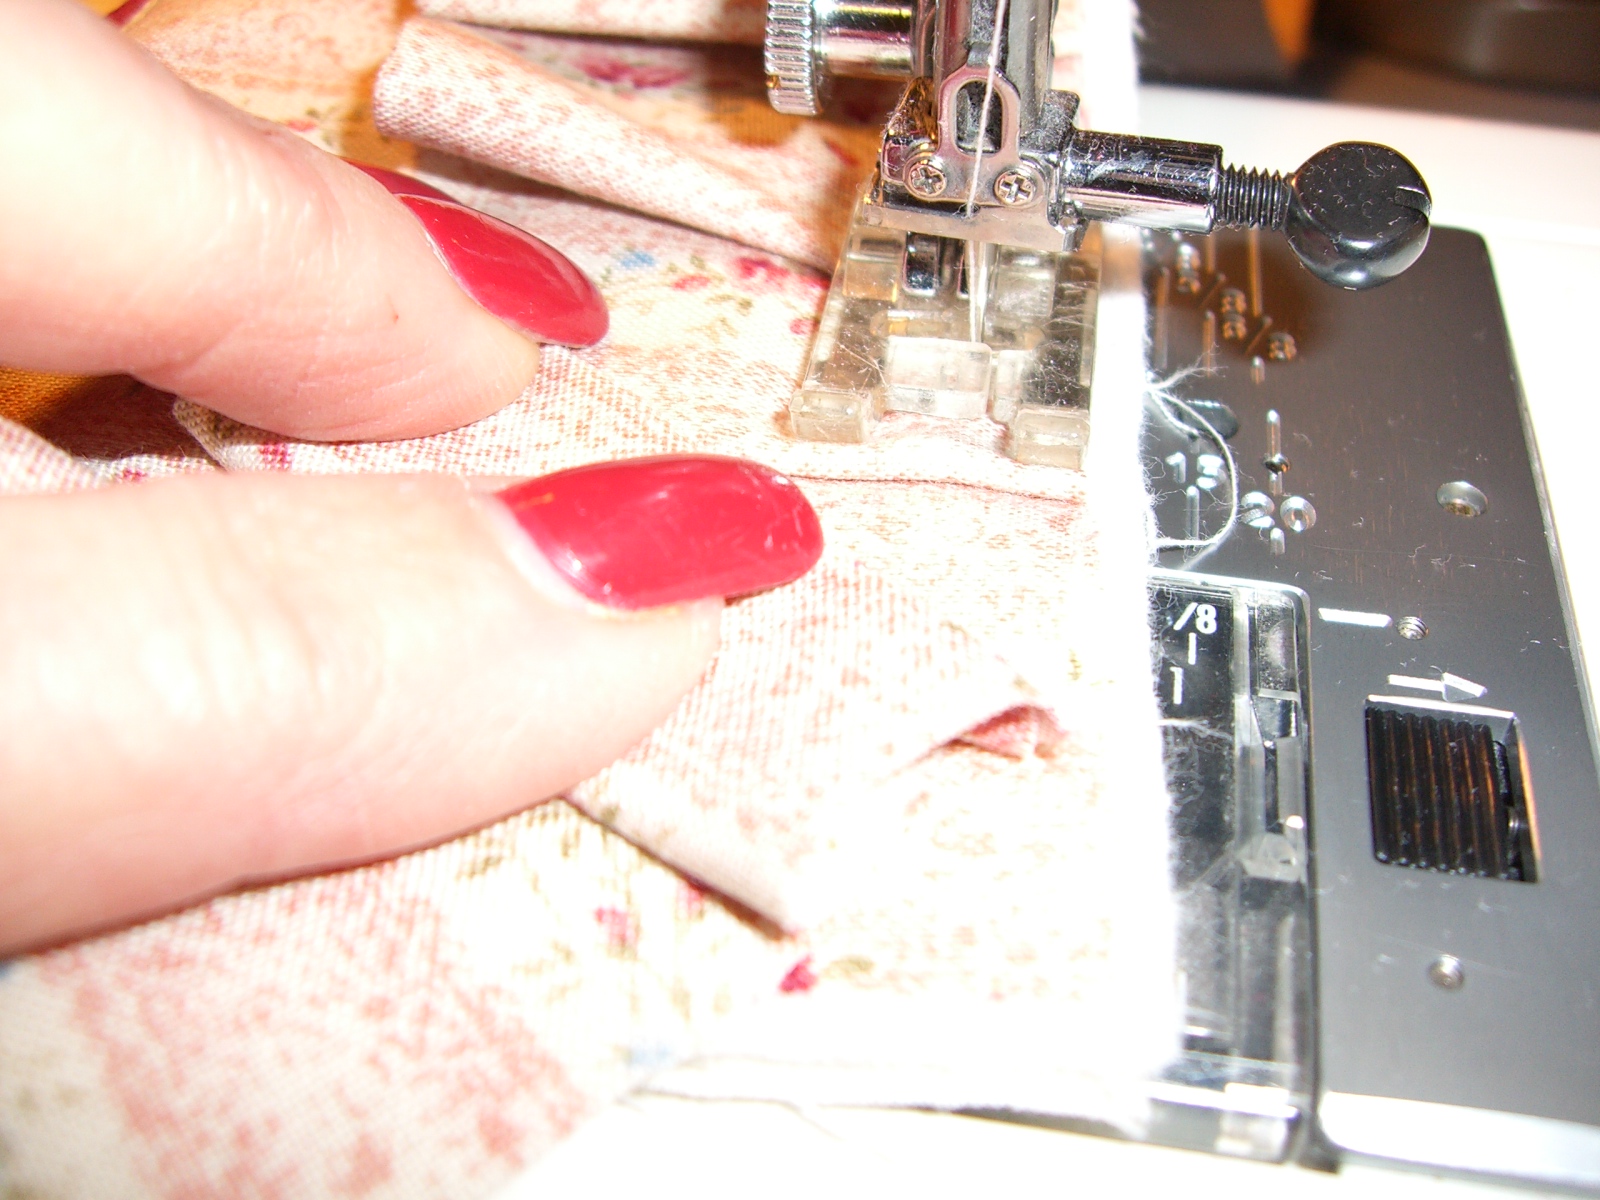
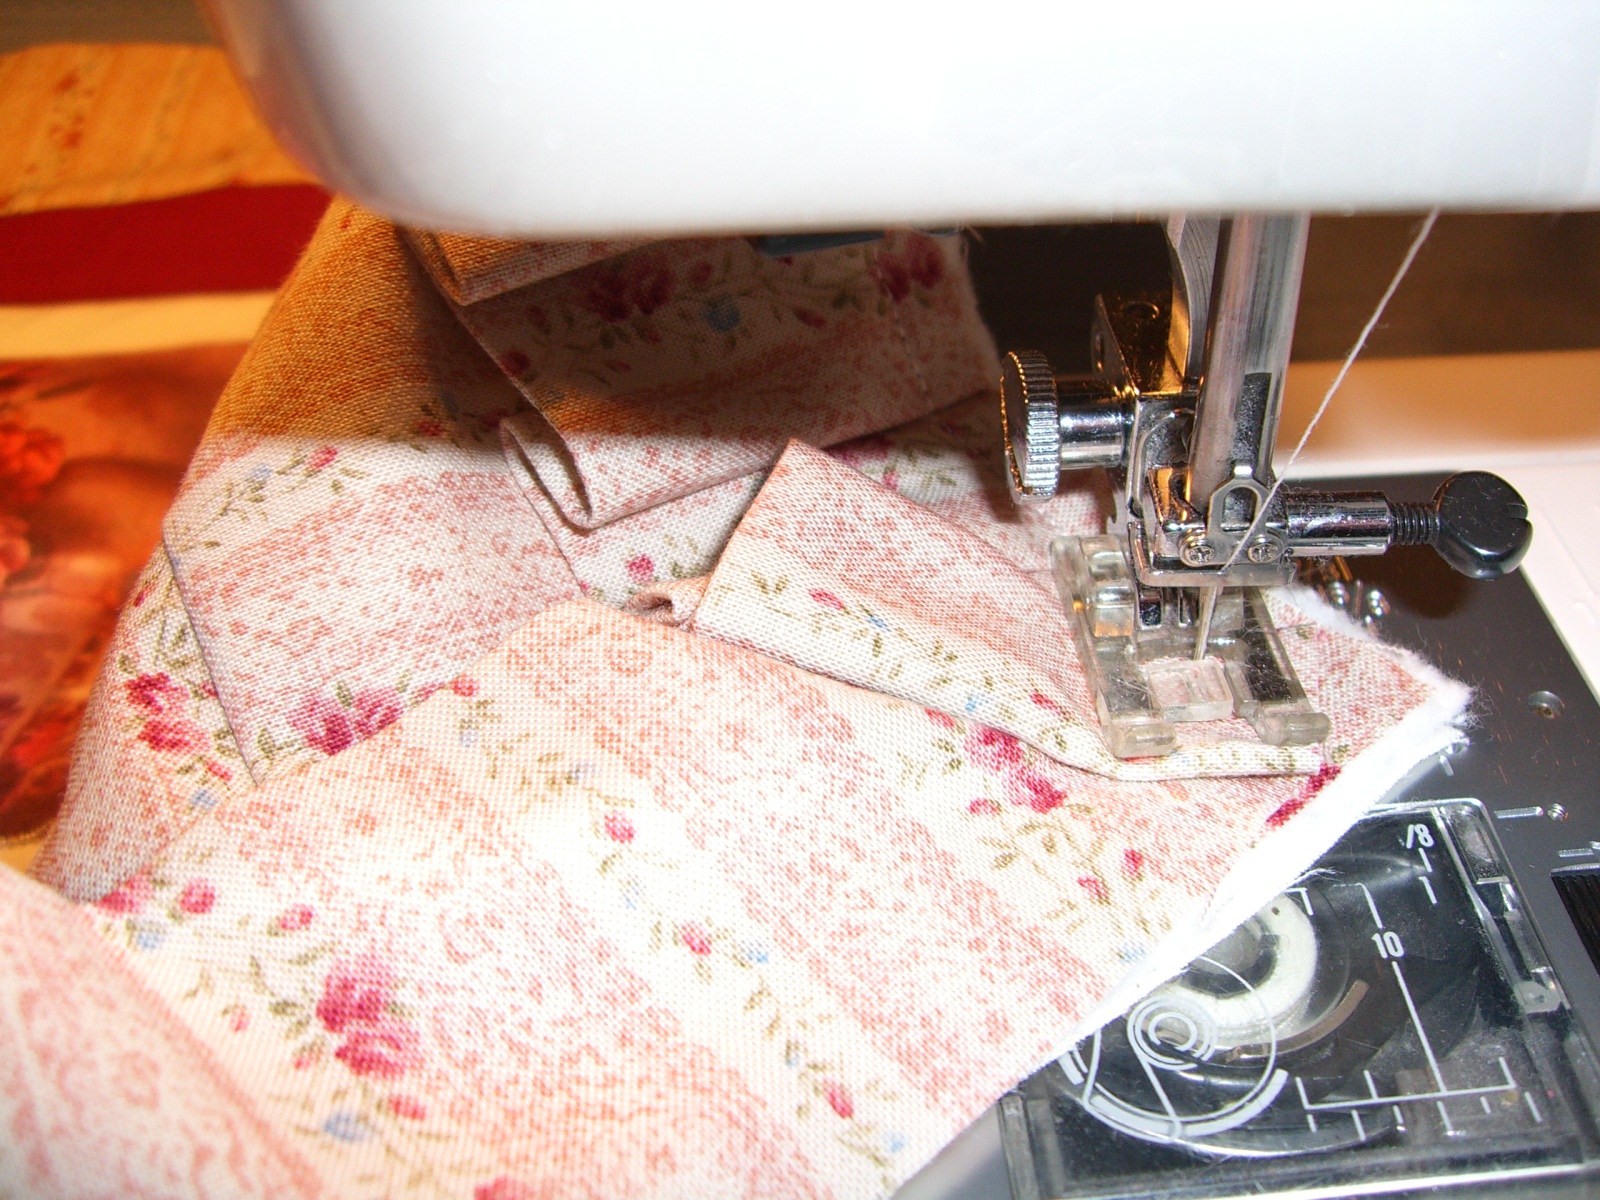
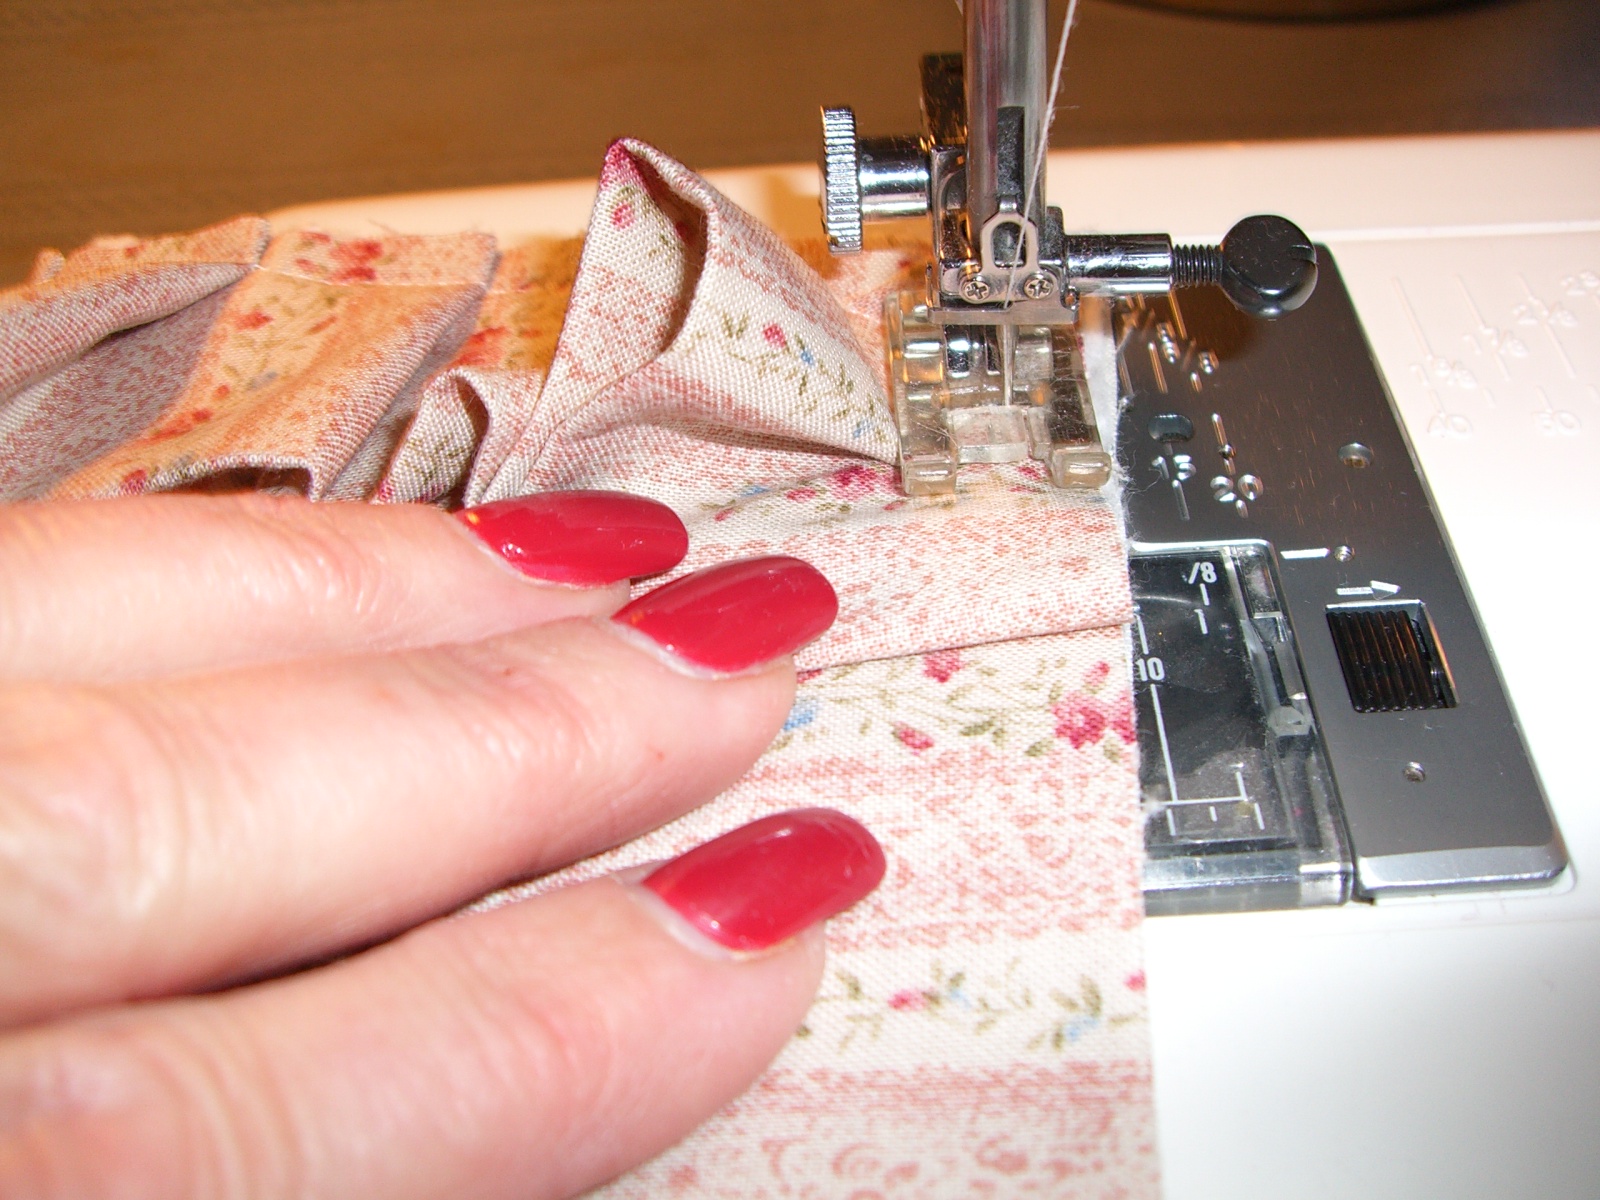
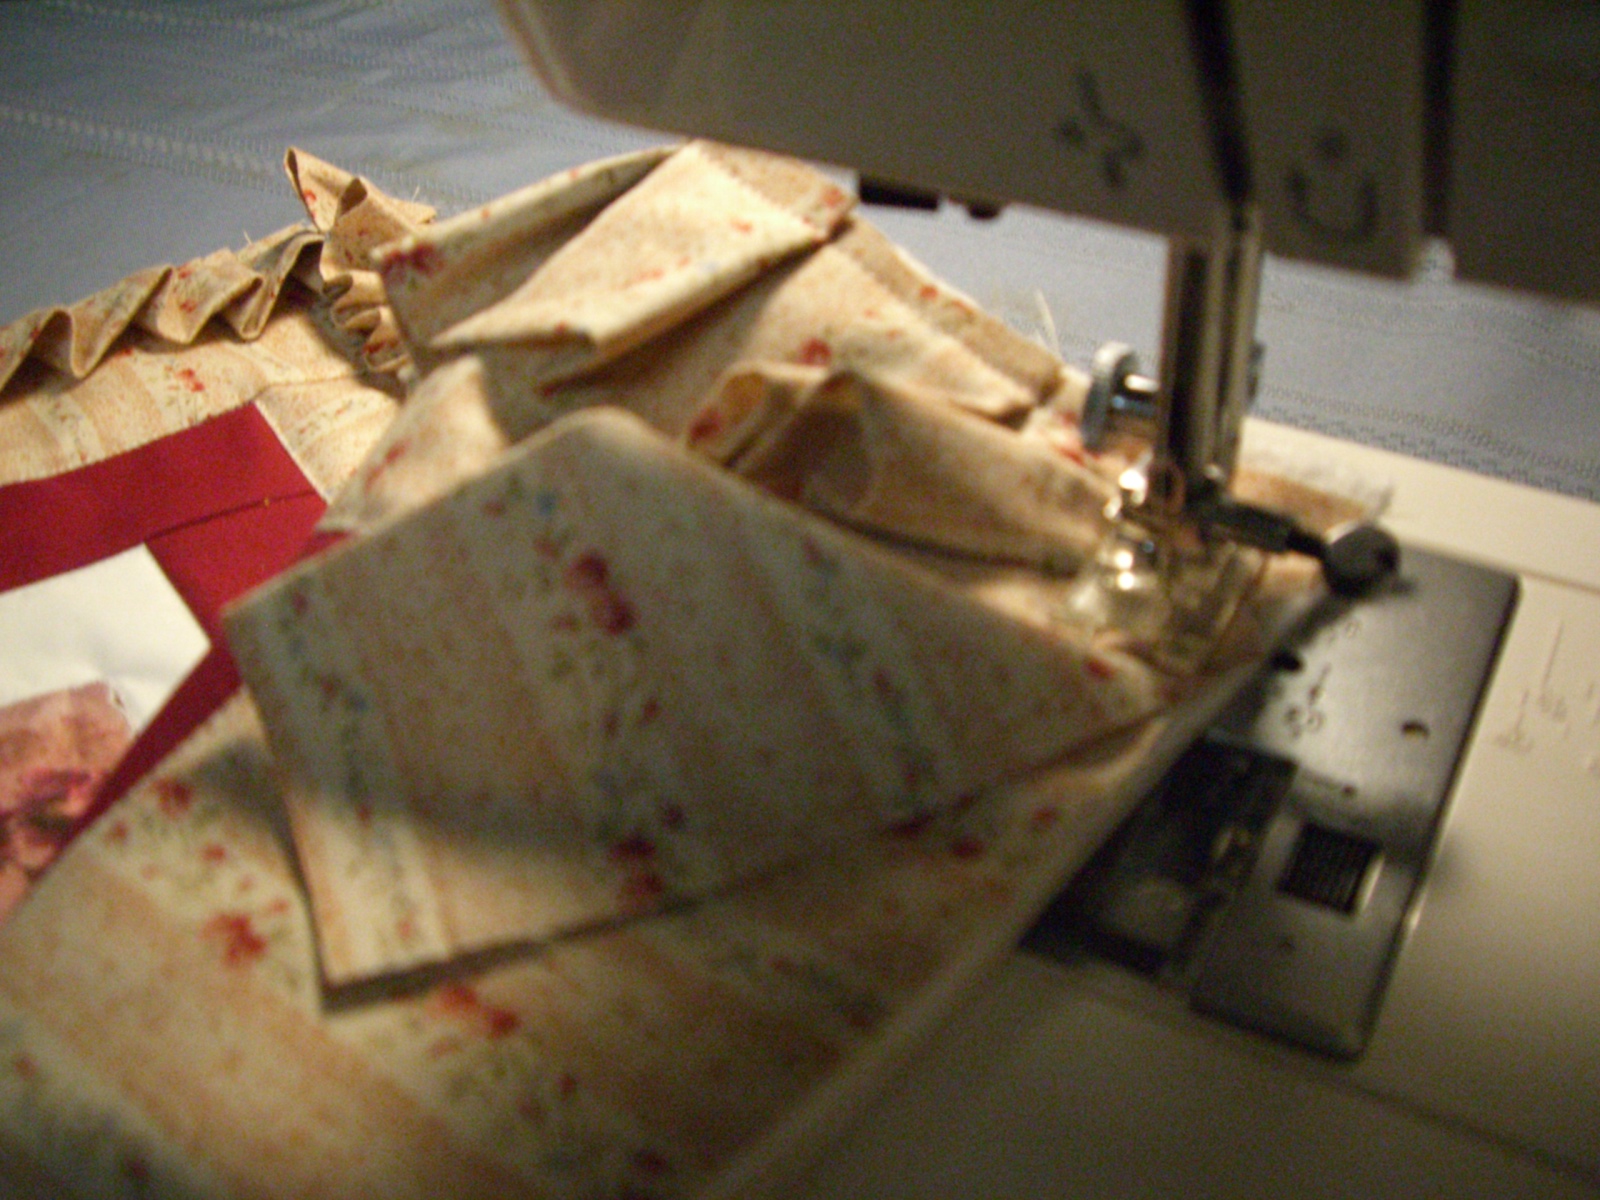
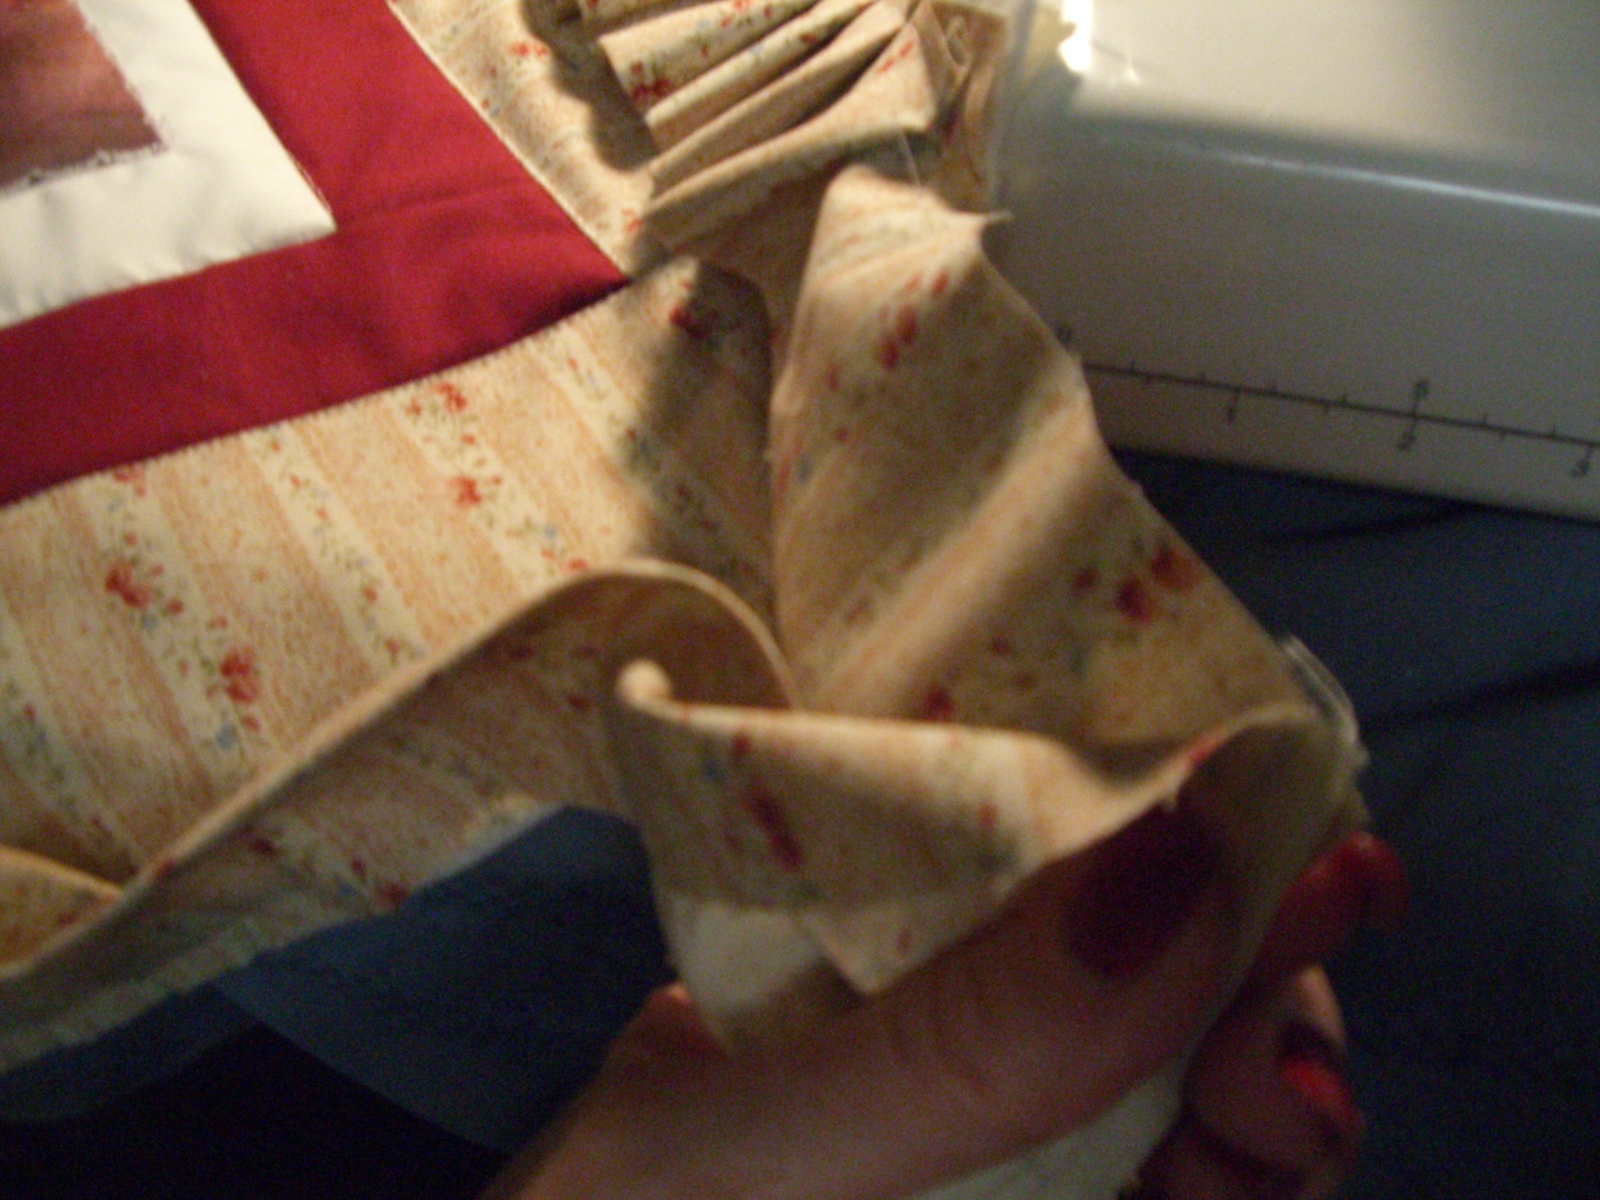
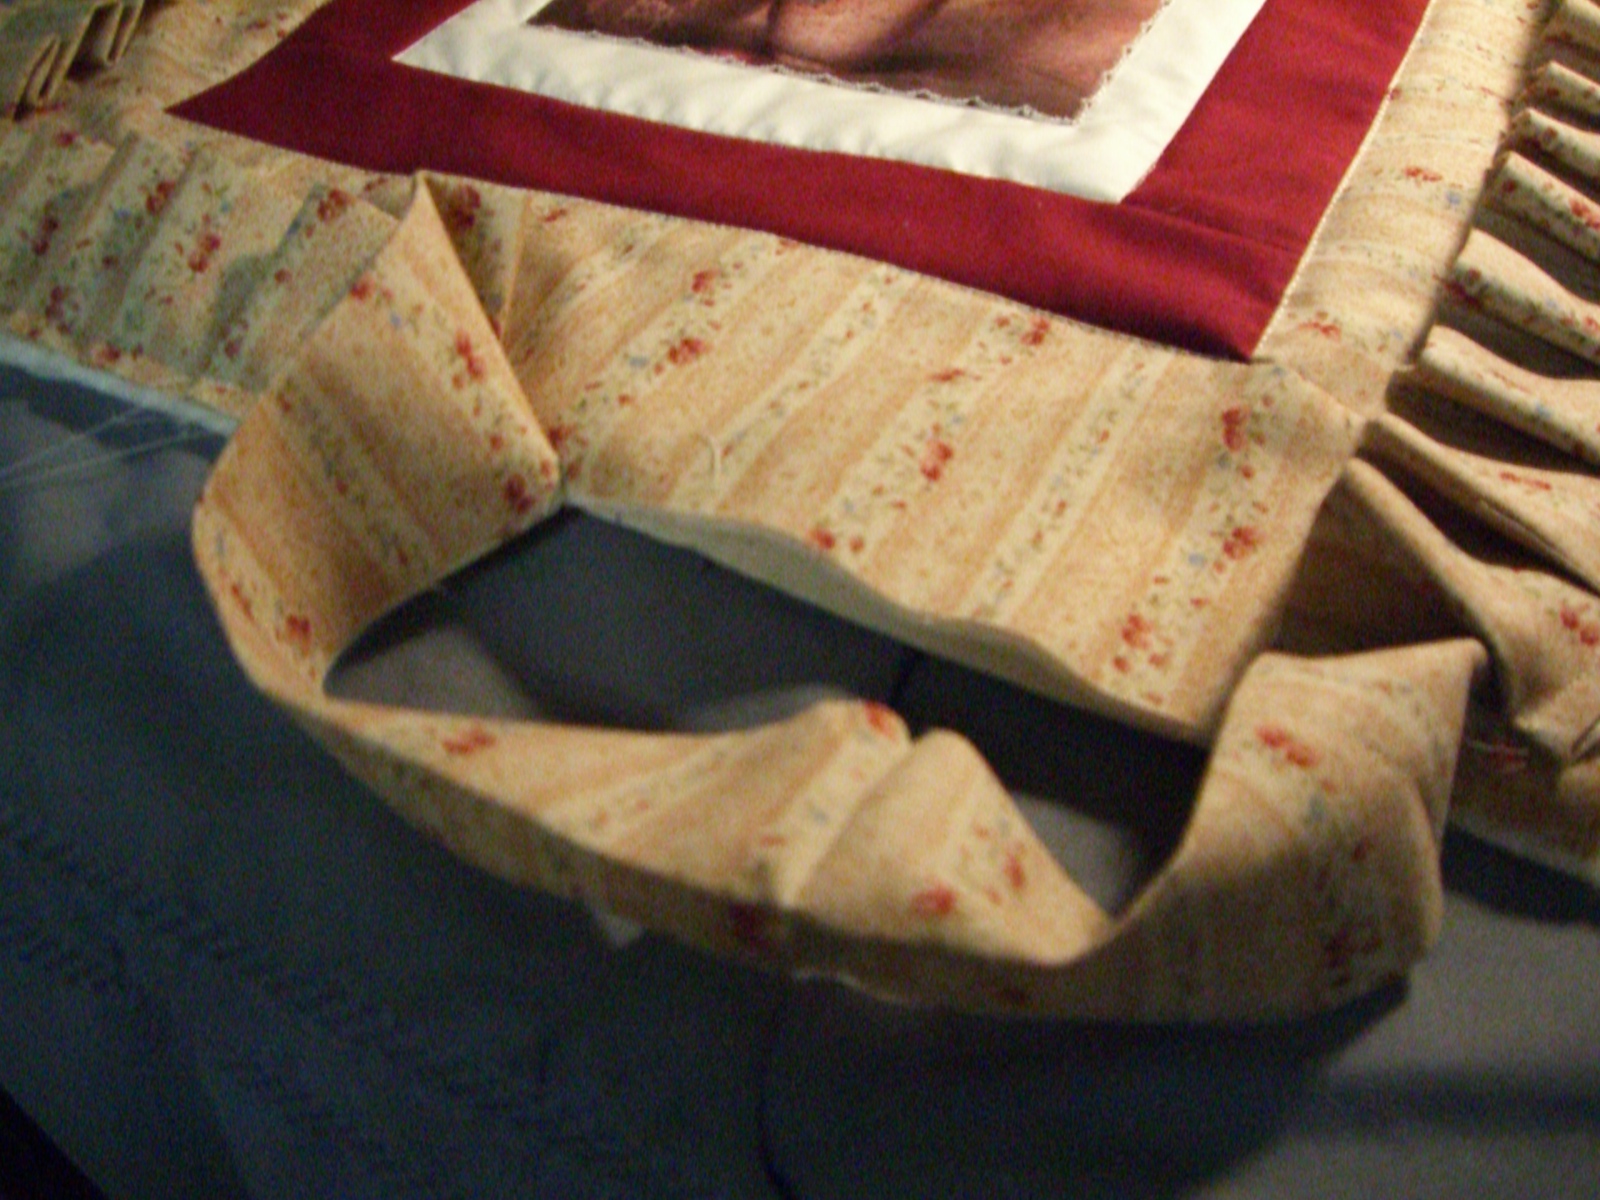
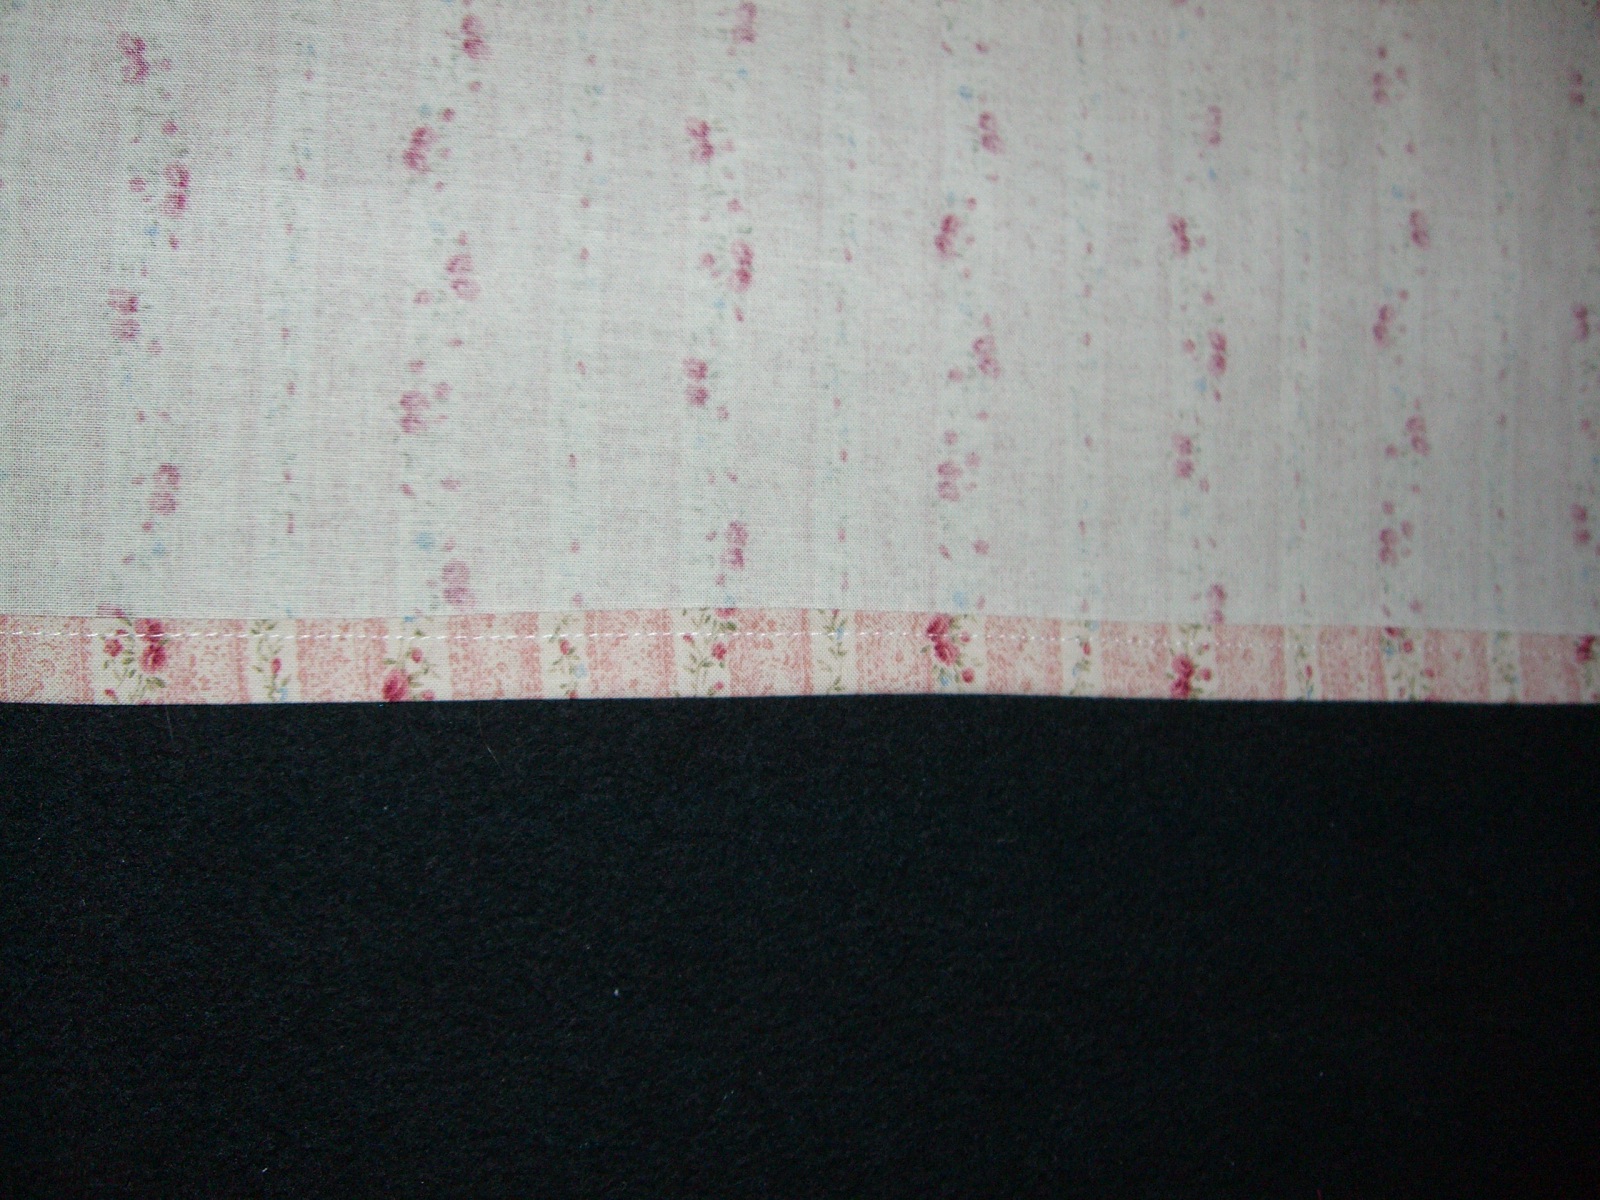
7.   Sew 3 or 4 stitches, then fold approx. 3/8” of the ruffle under itself to form a pleat.  Sew over the pleat, another 3 or 4 stitches past the pleat and form another pleat.  Continue pleating in this fashion.  Read #8 also before beginning.

         CIMG0545.JPG (692851 bytes)   CIMG0551.JPG (689283 bytes)   CIMG0552.JPG (688780 bytes)  CIMG0550.JPG (676865 bytes)

8.   To form corner pleats- For the corner you will create one pleat but will fold fabric under on both sides of the pleat as shown.  ‘Curve’ the pleat around the corner and sew the pleat in place rounding the stitches also.  Do not make straightedge corner stitches-see diagram.  Continue up the side forming the pleats by folding only one side in for the ruffle.

        CIMG0555.JPG (665242 bytes)   CIMG0556.JPG (662024 bytes)   CIMG0558.JPG (646805 bytes)

9.    Sew the ruffle in place, stitching until you have rounded the last corner plus a few stitches.  Remove the pillow cover from the machine.  Right sides together, sew the two short ends of the ruffle together.  Continue sewing the ruffle in place.

        CIMG0559.JPG (646345 bytes)   CIMG0560.JPG (645839 bytes)   CIMG0561.JPG (683455 bytes)   CIMG0562.JPG (677386 bytes)

10.  Pillow Back:  On each of the two 11” x 17” pieces, press a double ½” hem on one 17” side.  Topstitch close to the folded edge on each piece.

         CIMG0564.JPG (627625 bytes)

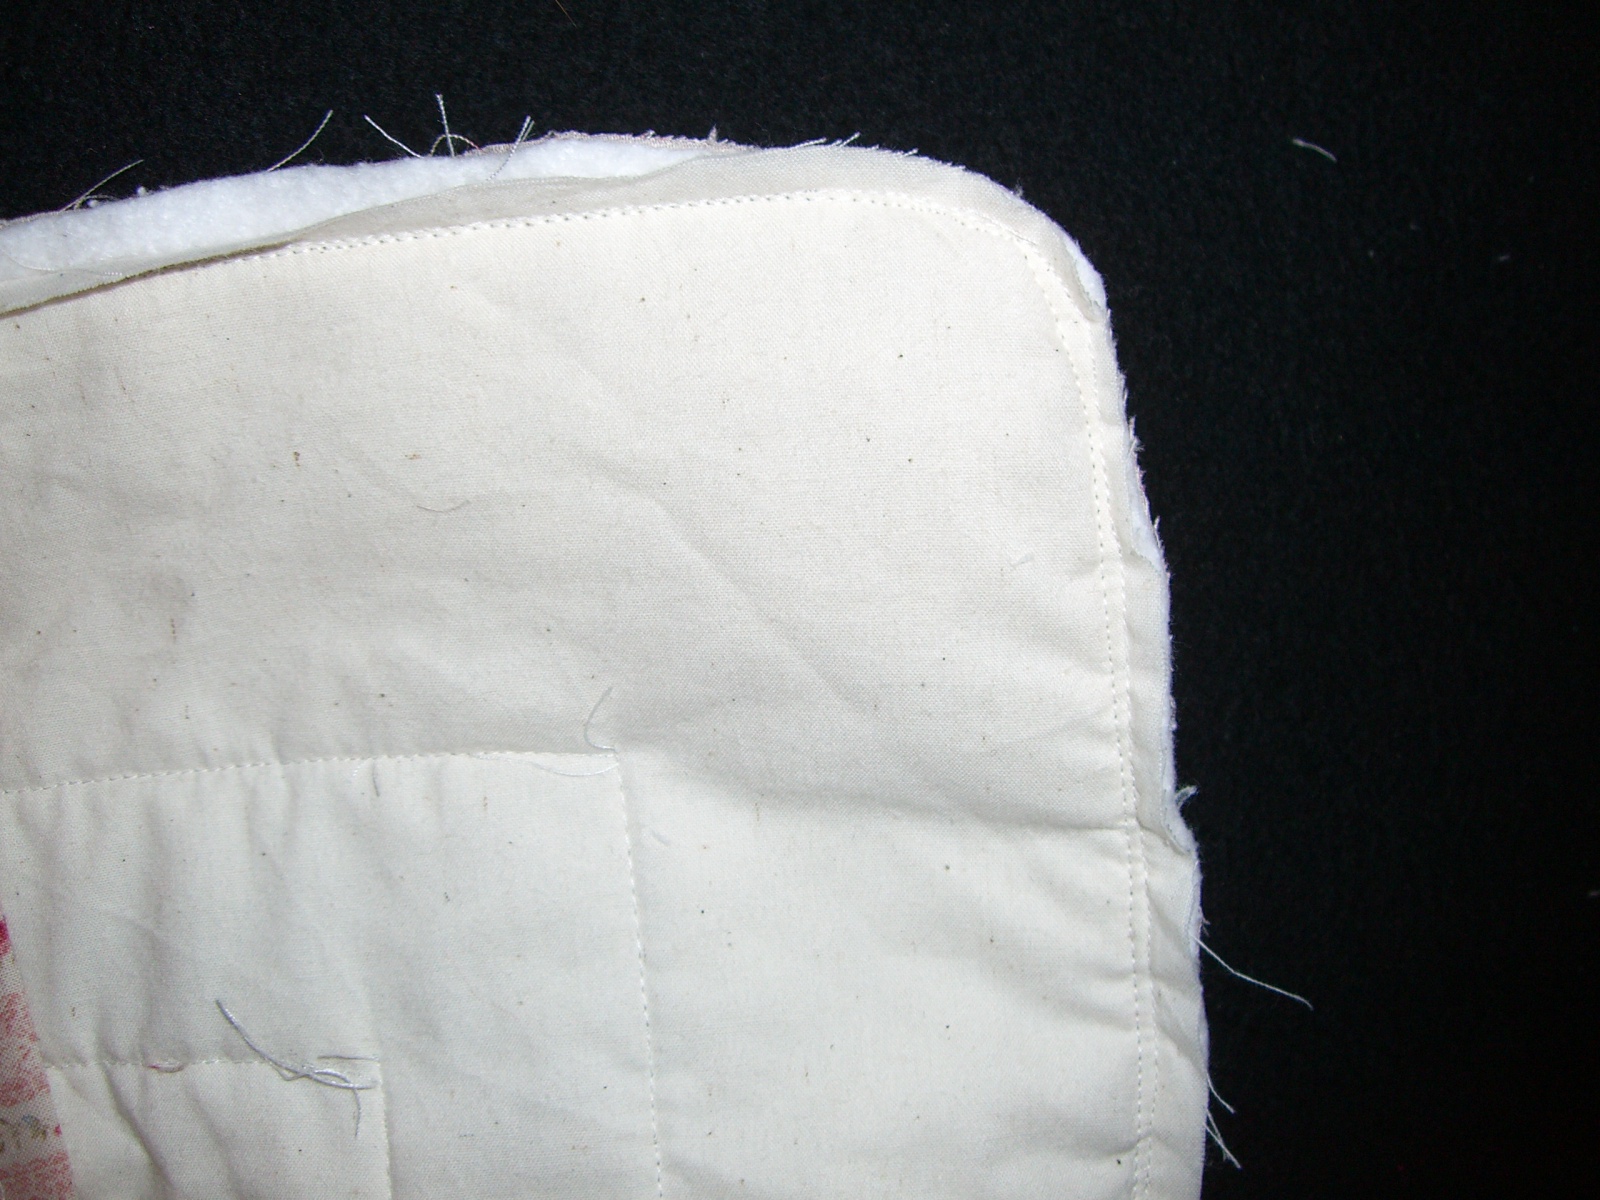
 11.  Right sides together, Lay the two backing pieces (overlapping each other) on the pillow top, making sure all raw edges are even.  Sew together Ό” from the edge, around the entire pillow cover.  Trim the corners as shown.  Turn the cover right side out and press.

         CIMG0565.JPG (639935 bytes)   CIMG0567.JPG (647540 bytes)   CIMG0568.JPG (623842 bytes)   CIMG0569.JPG (642205 bytes)

                                  CIMG0571.JPG (630273 bytes)           CIMG0572.JPG (675512 bytes)